
Mark Raddenbury, was one of the first few people who received their Arrow AT1. He wasted no time and got the kit built and also documented the entire build process to give everyone some tips whilst building their kit. Here's his complete write up, at the end is also his review after running the car:
Main Features
Bucking the trend of all other shaft drive cars from yesteryear was a hard ask for the Xpress designers, but they really have achieved it. A fully detachable, floating drivetrain is an inspired bit of engineering. You can literally undo a couple of screws, and lift out the entire drivetrain (including the motor if you’ve unsoldered it). This (should) eliminate most of the nasty torque steer effects that plagued the shaft drive revolution way back with the PRO4, the TC3 etc. I had a TC3 for a while back when brushless motors were just starting to peek over the horizon and ask if it was their time, and I have to say, I did notice it needed trimming a fair amount to keep it in check. Especially on carpet and especially when using lower winds of motors that gave much more kick. Having the drivetrain separated is a great step to eliminating the torque steer effect and who knows, maybe other manufacturers will look at the Xpress way, slap their faces and wonder why they didn’t think of that.
Shock mounts - These are completely different to any of the other Xpress chassis out there. Xpress have used the idea that the XSquare guys came up with, and utilised their lower COG mounts but they’ve neatly tied in the idea to run all the way down, directly into the chassis. This means that all the shock energy isn't wasted. It’s used to push everything down into the ground and get that bite of grip.
Using the same suspension - This is a brilliant idea. Some will wonder why Xpress hasn't gone the way of many of the other brands with longer suspension arms, wider suspension arms, split suspension arms.. Etc etc. I see this as Xpress caring for their existing racers. The suspension parts used on the AT1 are compatible with all of the previous generation of the Xpress family. From the XQ1S right through to the XQ10R. This certainly saves you having to buy a wealth of spares when you upgrade to the AT1 and gives you some peace of mind that Xpress does care about your wallets!
The Build
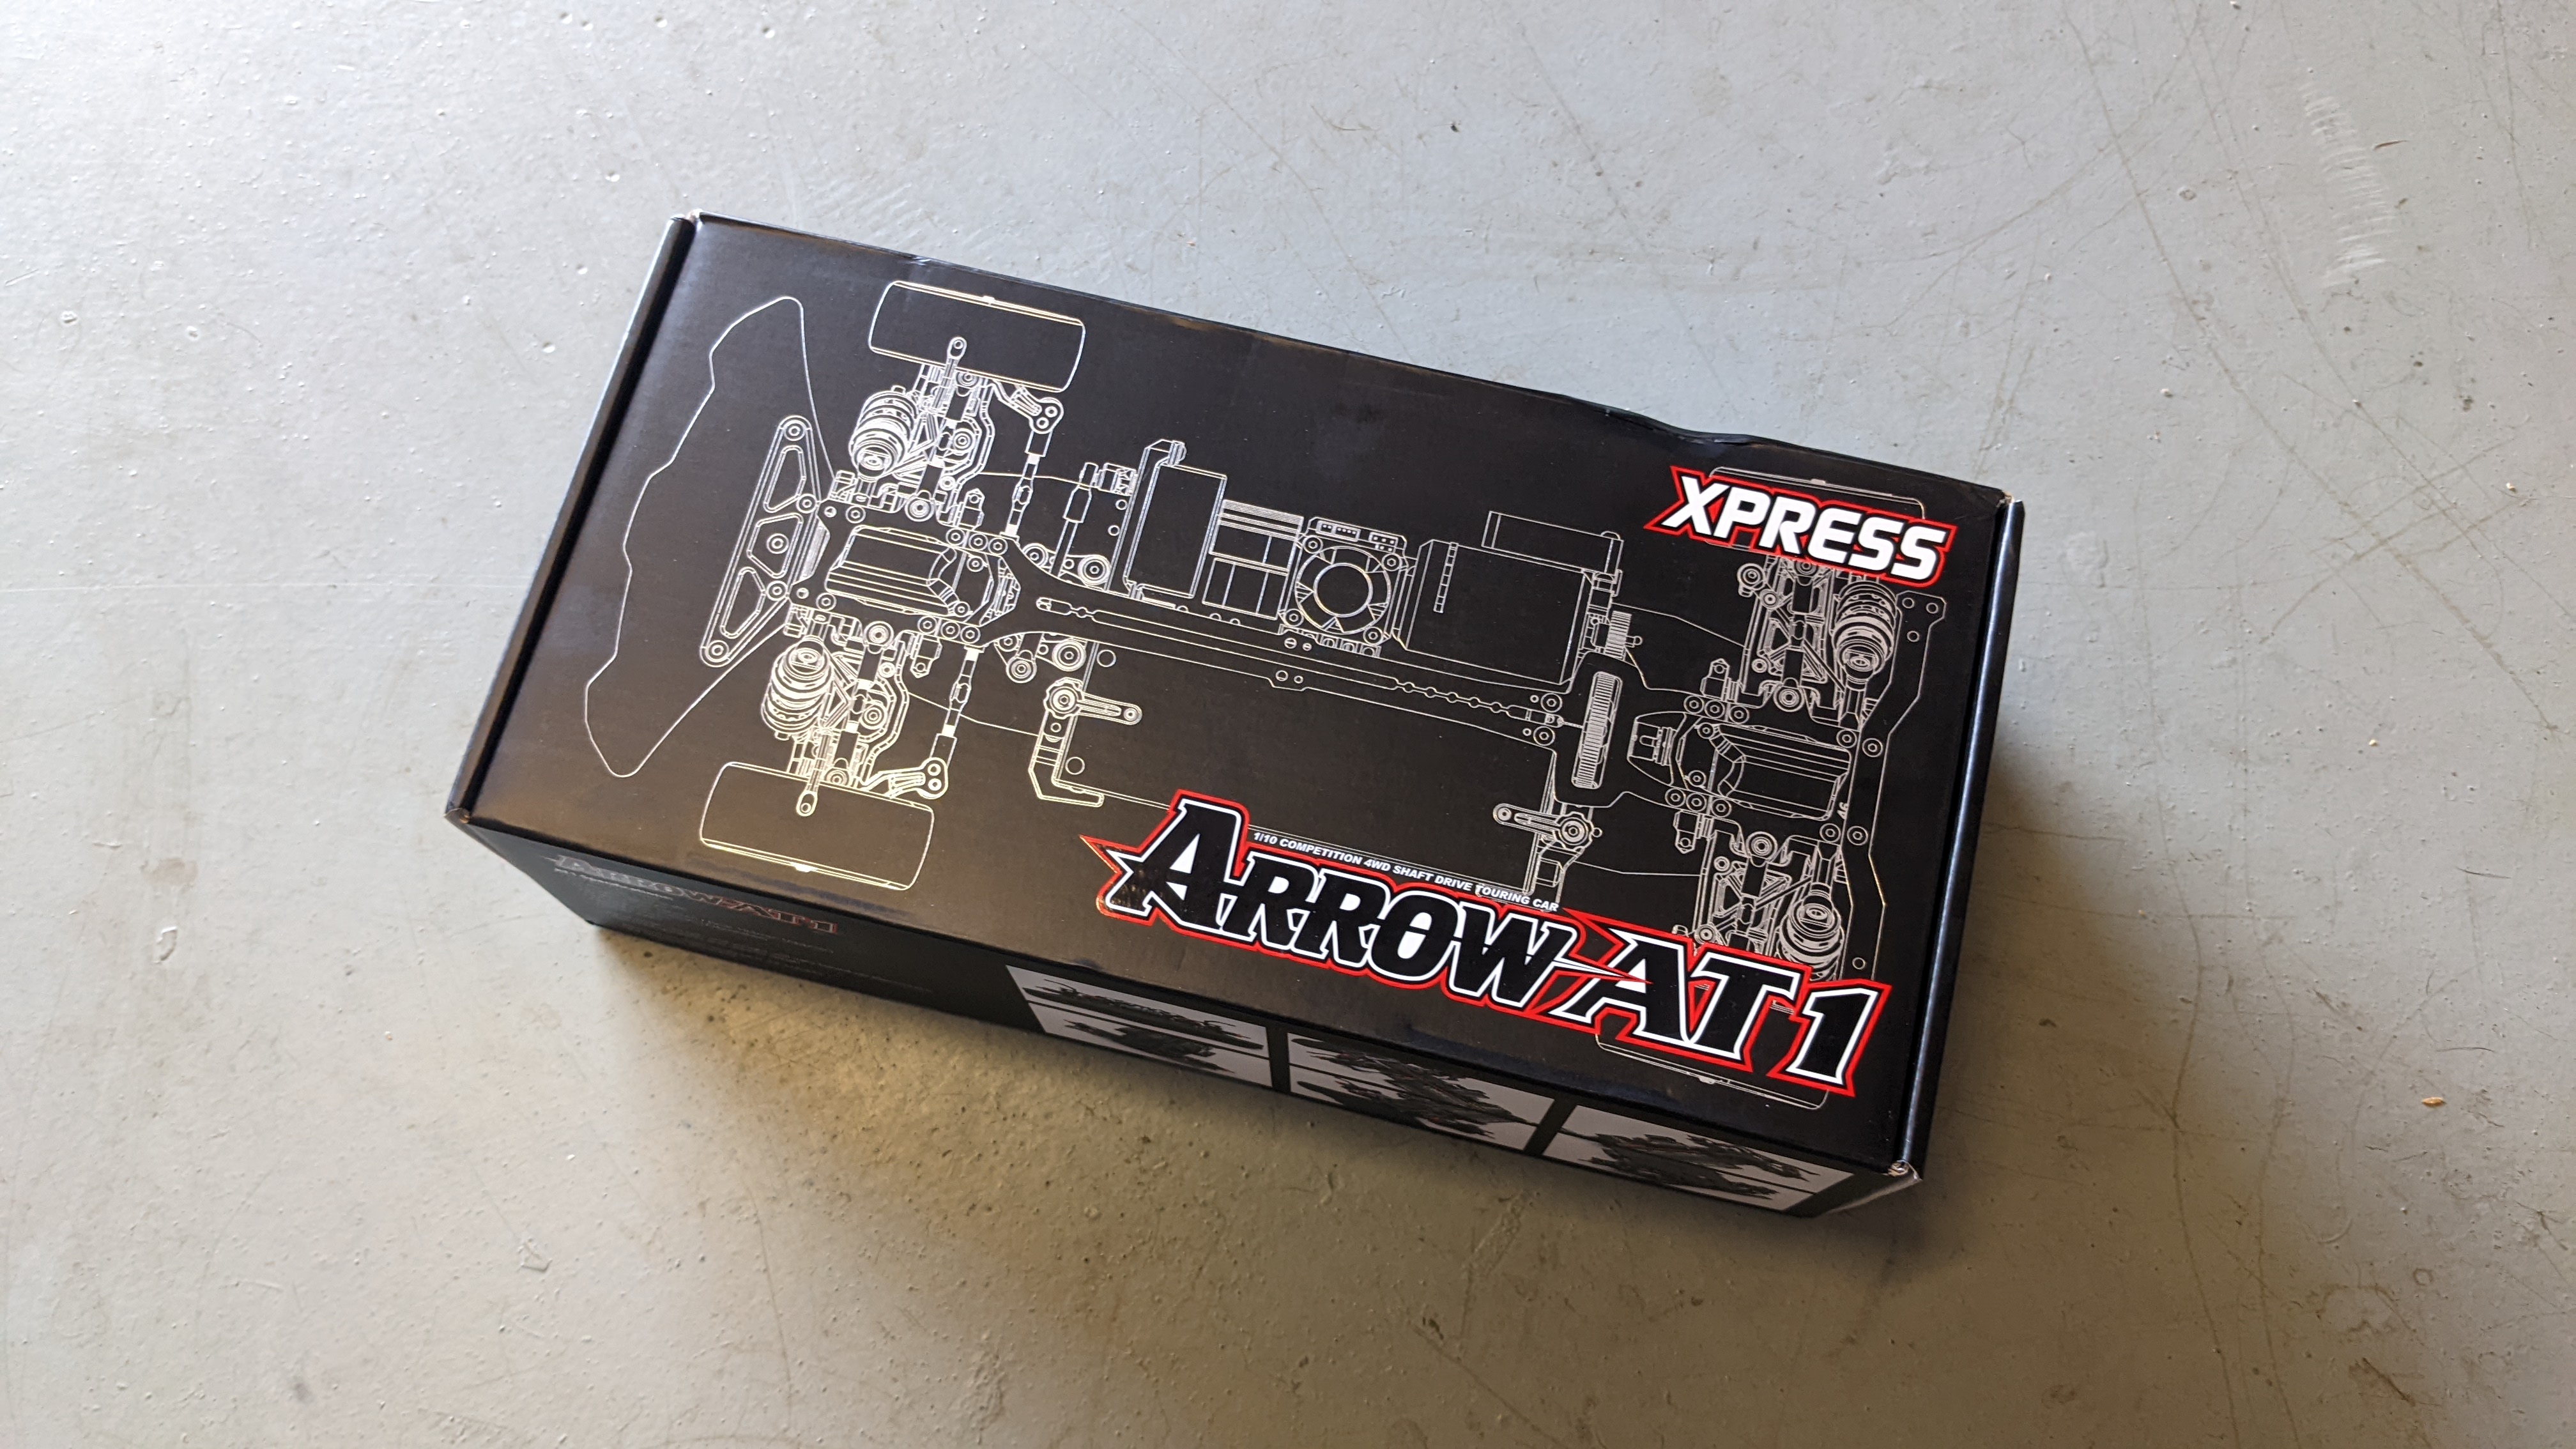
I was fortunate enough to receive the first AT1 kit in the UK, and also fortunate that I have a very understanding workplace. I was able to build the car the same day, and even had it ready for racing, the same day! I won’t lie, it was a slight rush, but, worth it as you’ll see.
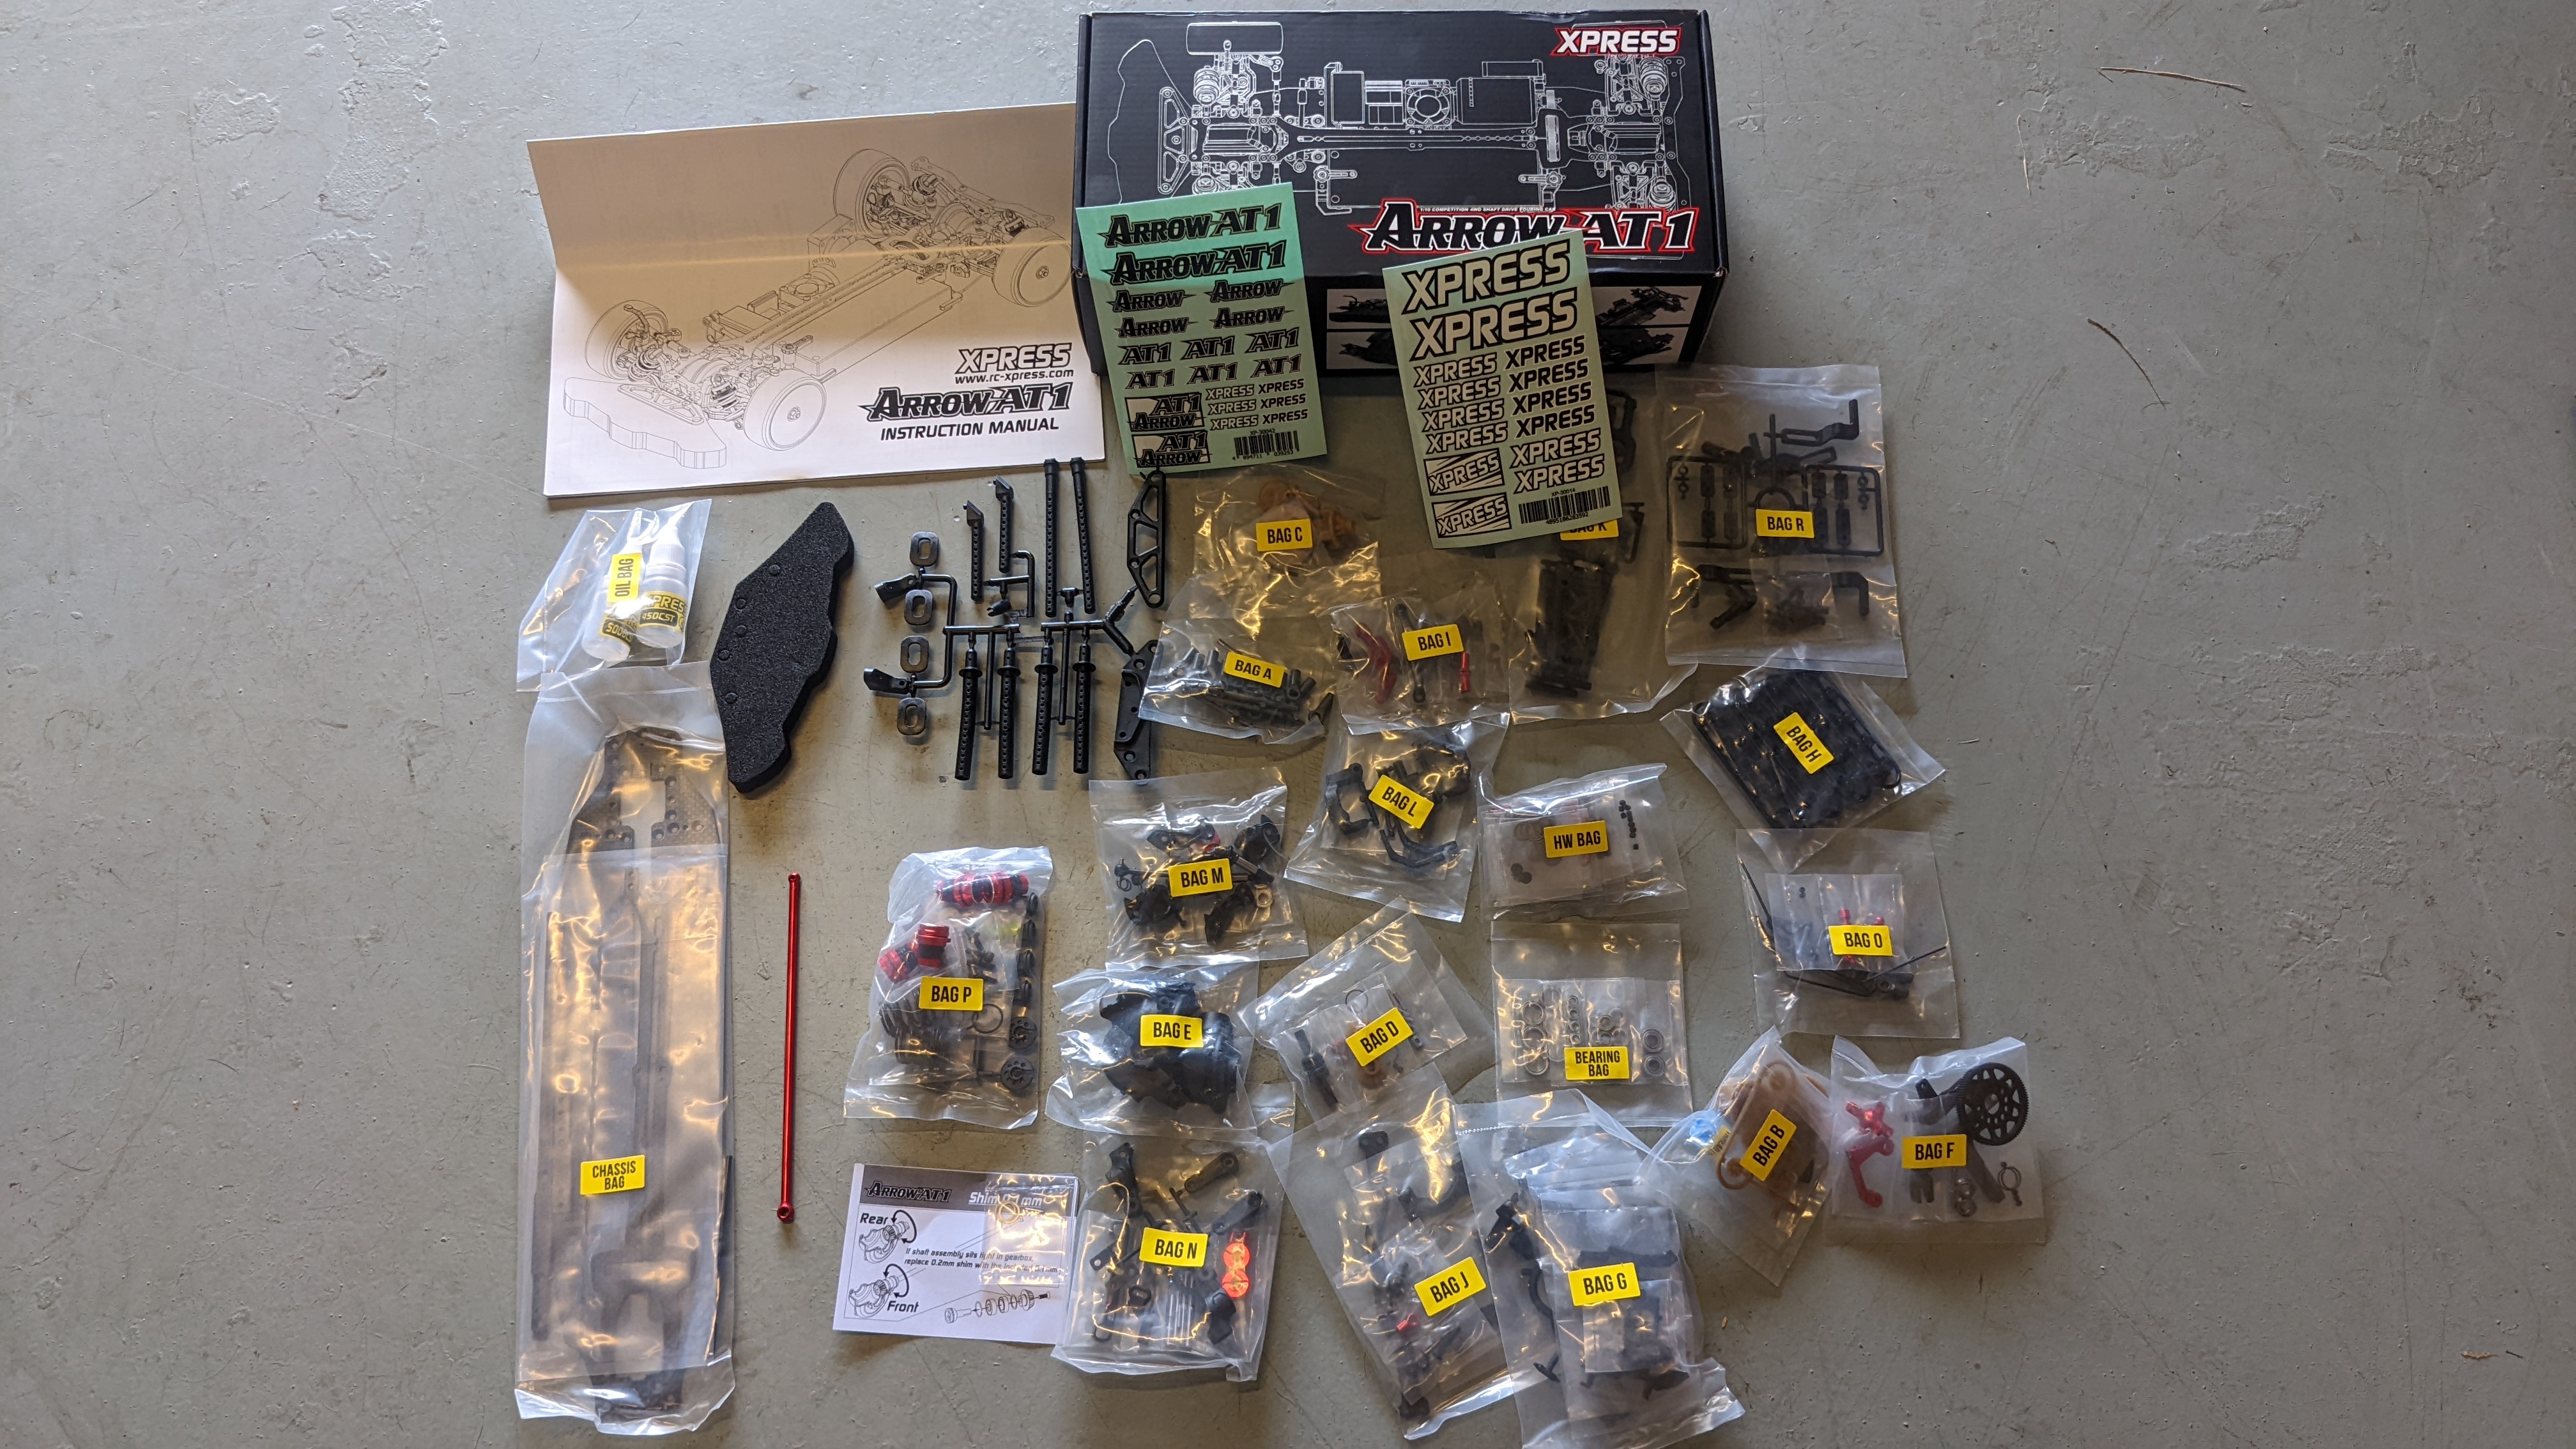
Inside the box, you’ve got the usual. Labelled bags, neatly sorted to make life easier on you, the builder. Hardware and bearing bags are separate and you’ll need to keep those nearby! Instruction manual is no frills and very easy to follow! Oh and of course, there is the usual sticker pack to fully brighten up your ride! Also, the box art is fantastic! I love a blueprint style bit of artwork.
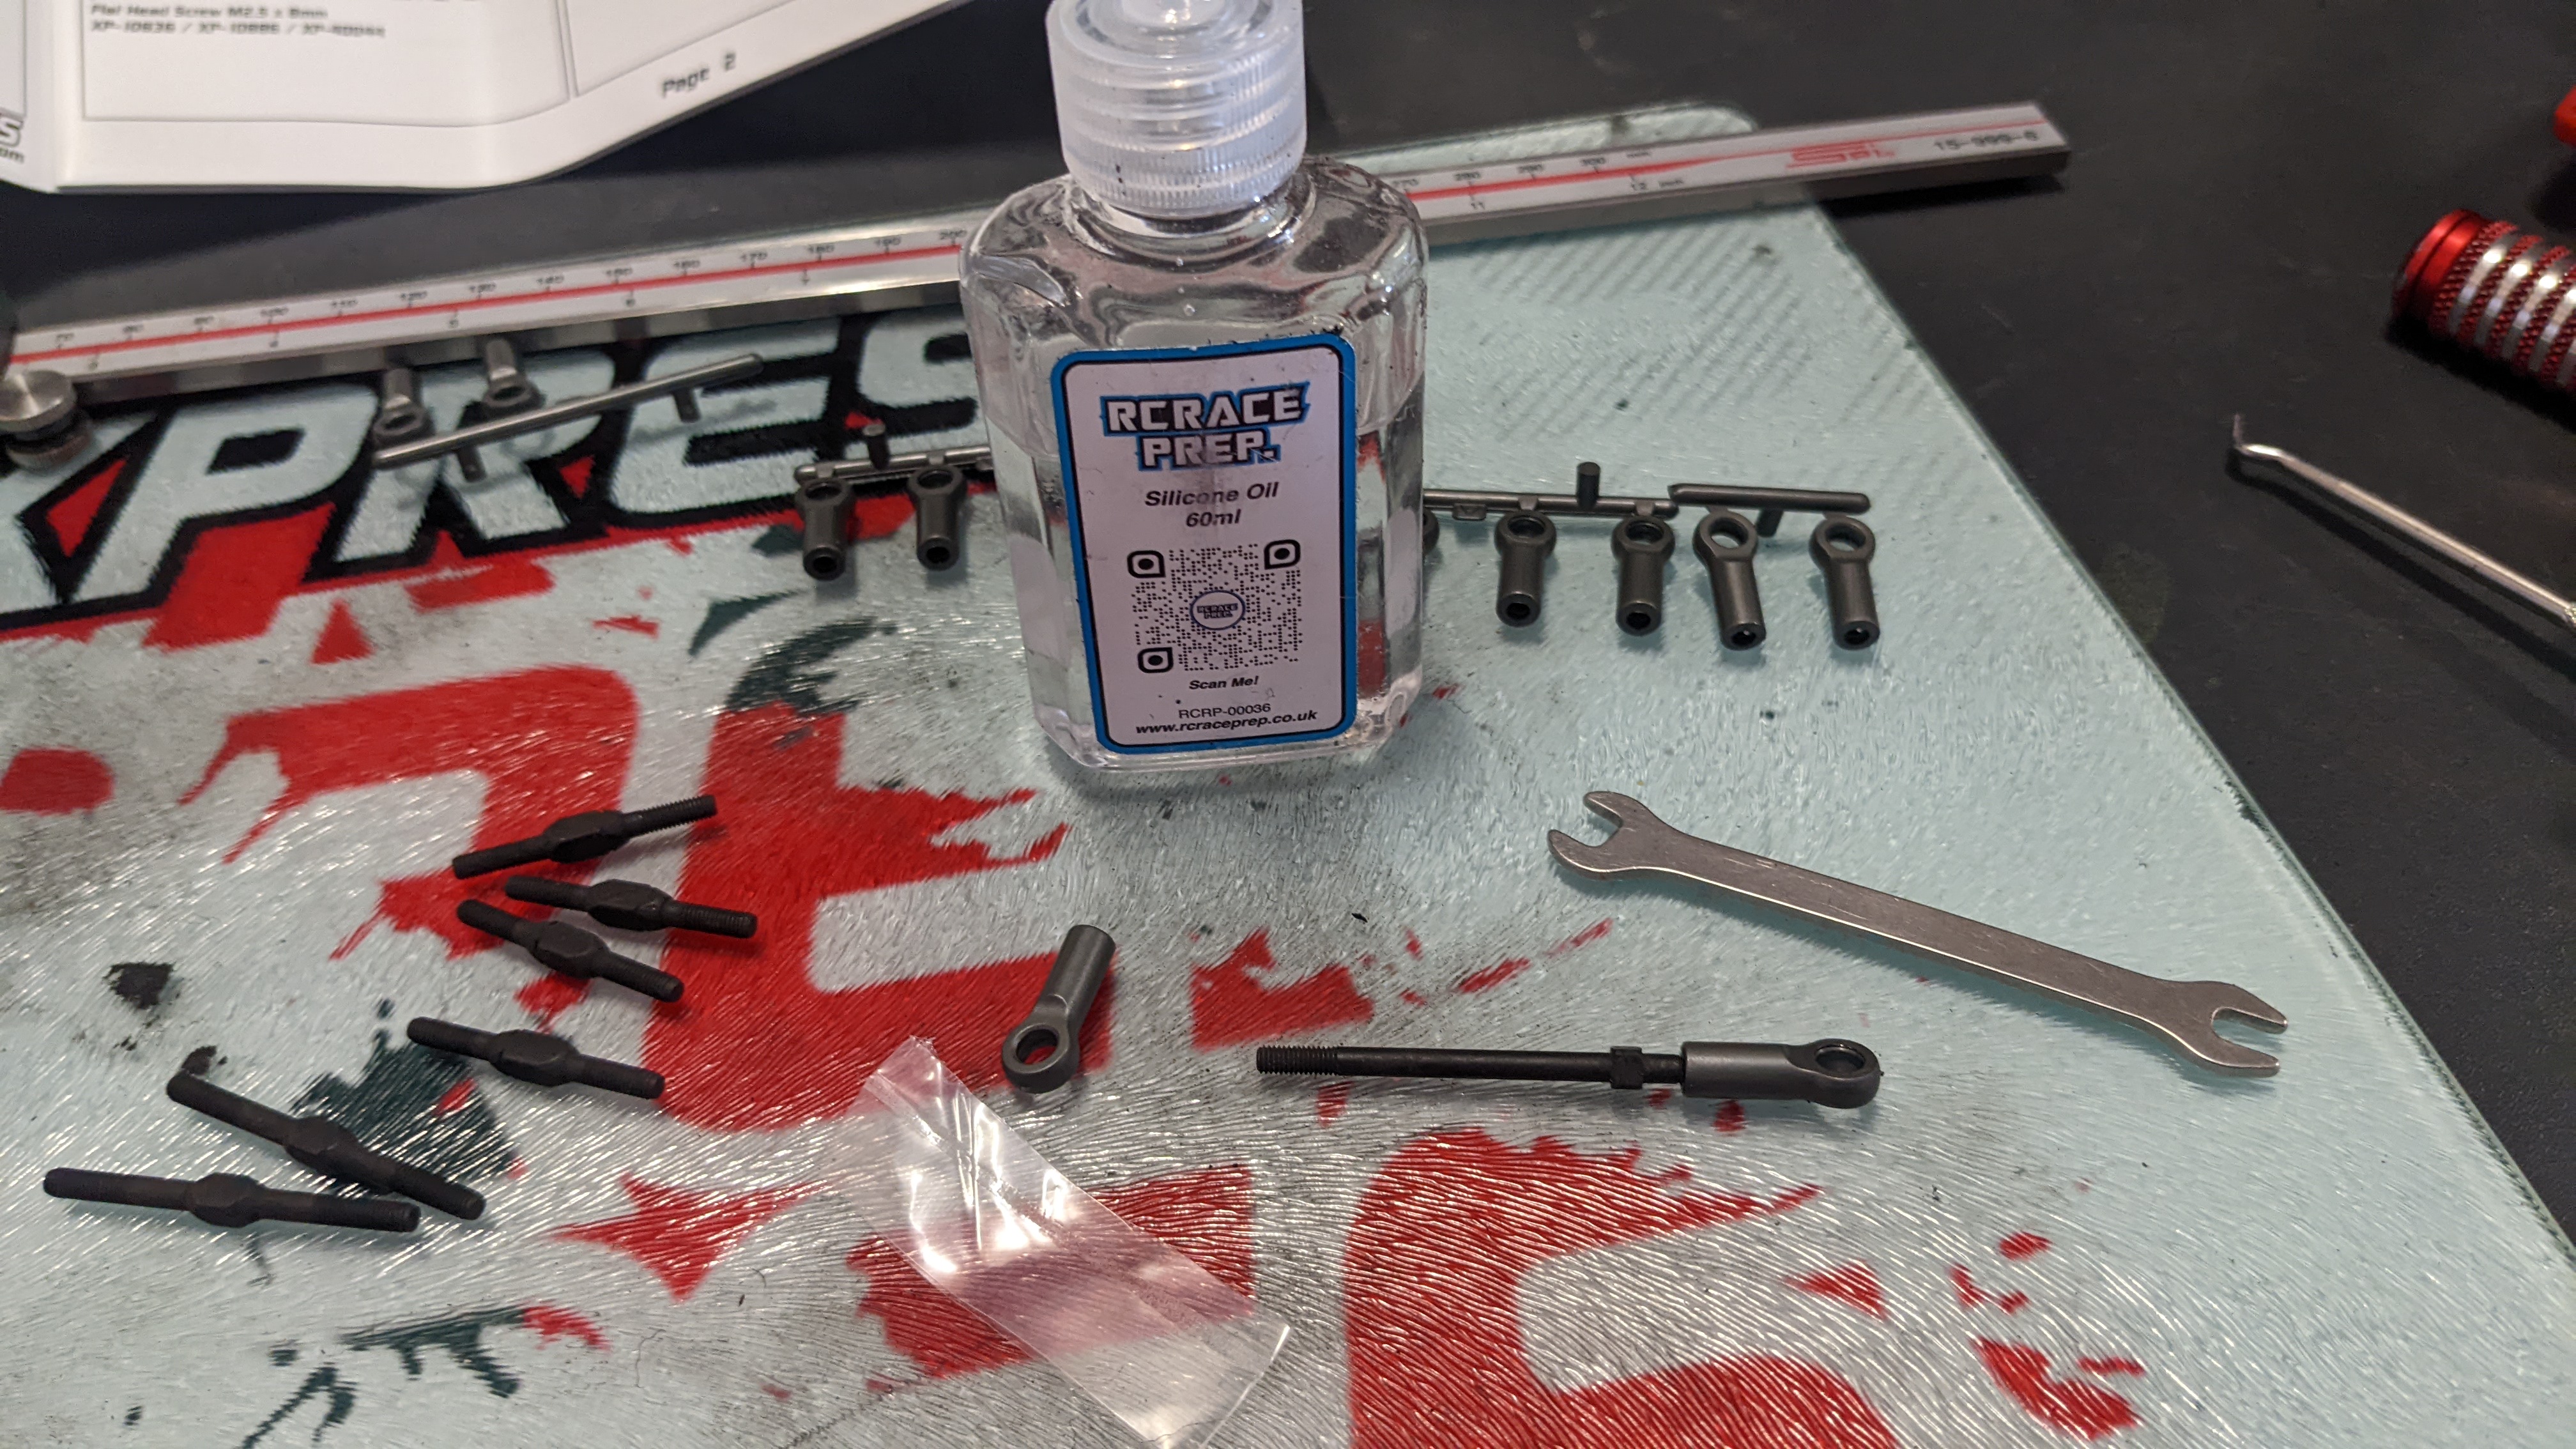
First things to build were the dreaded turnbuckles. Others have their own way of making sure they screw together easily, using chapsticks, soap and even ceramic lube! Personally, I always use some RCRacePrep diff oil. Yes it leaks out and dries, but that's fine as then the turnbuckle is less likely to need adjusting after a run.
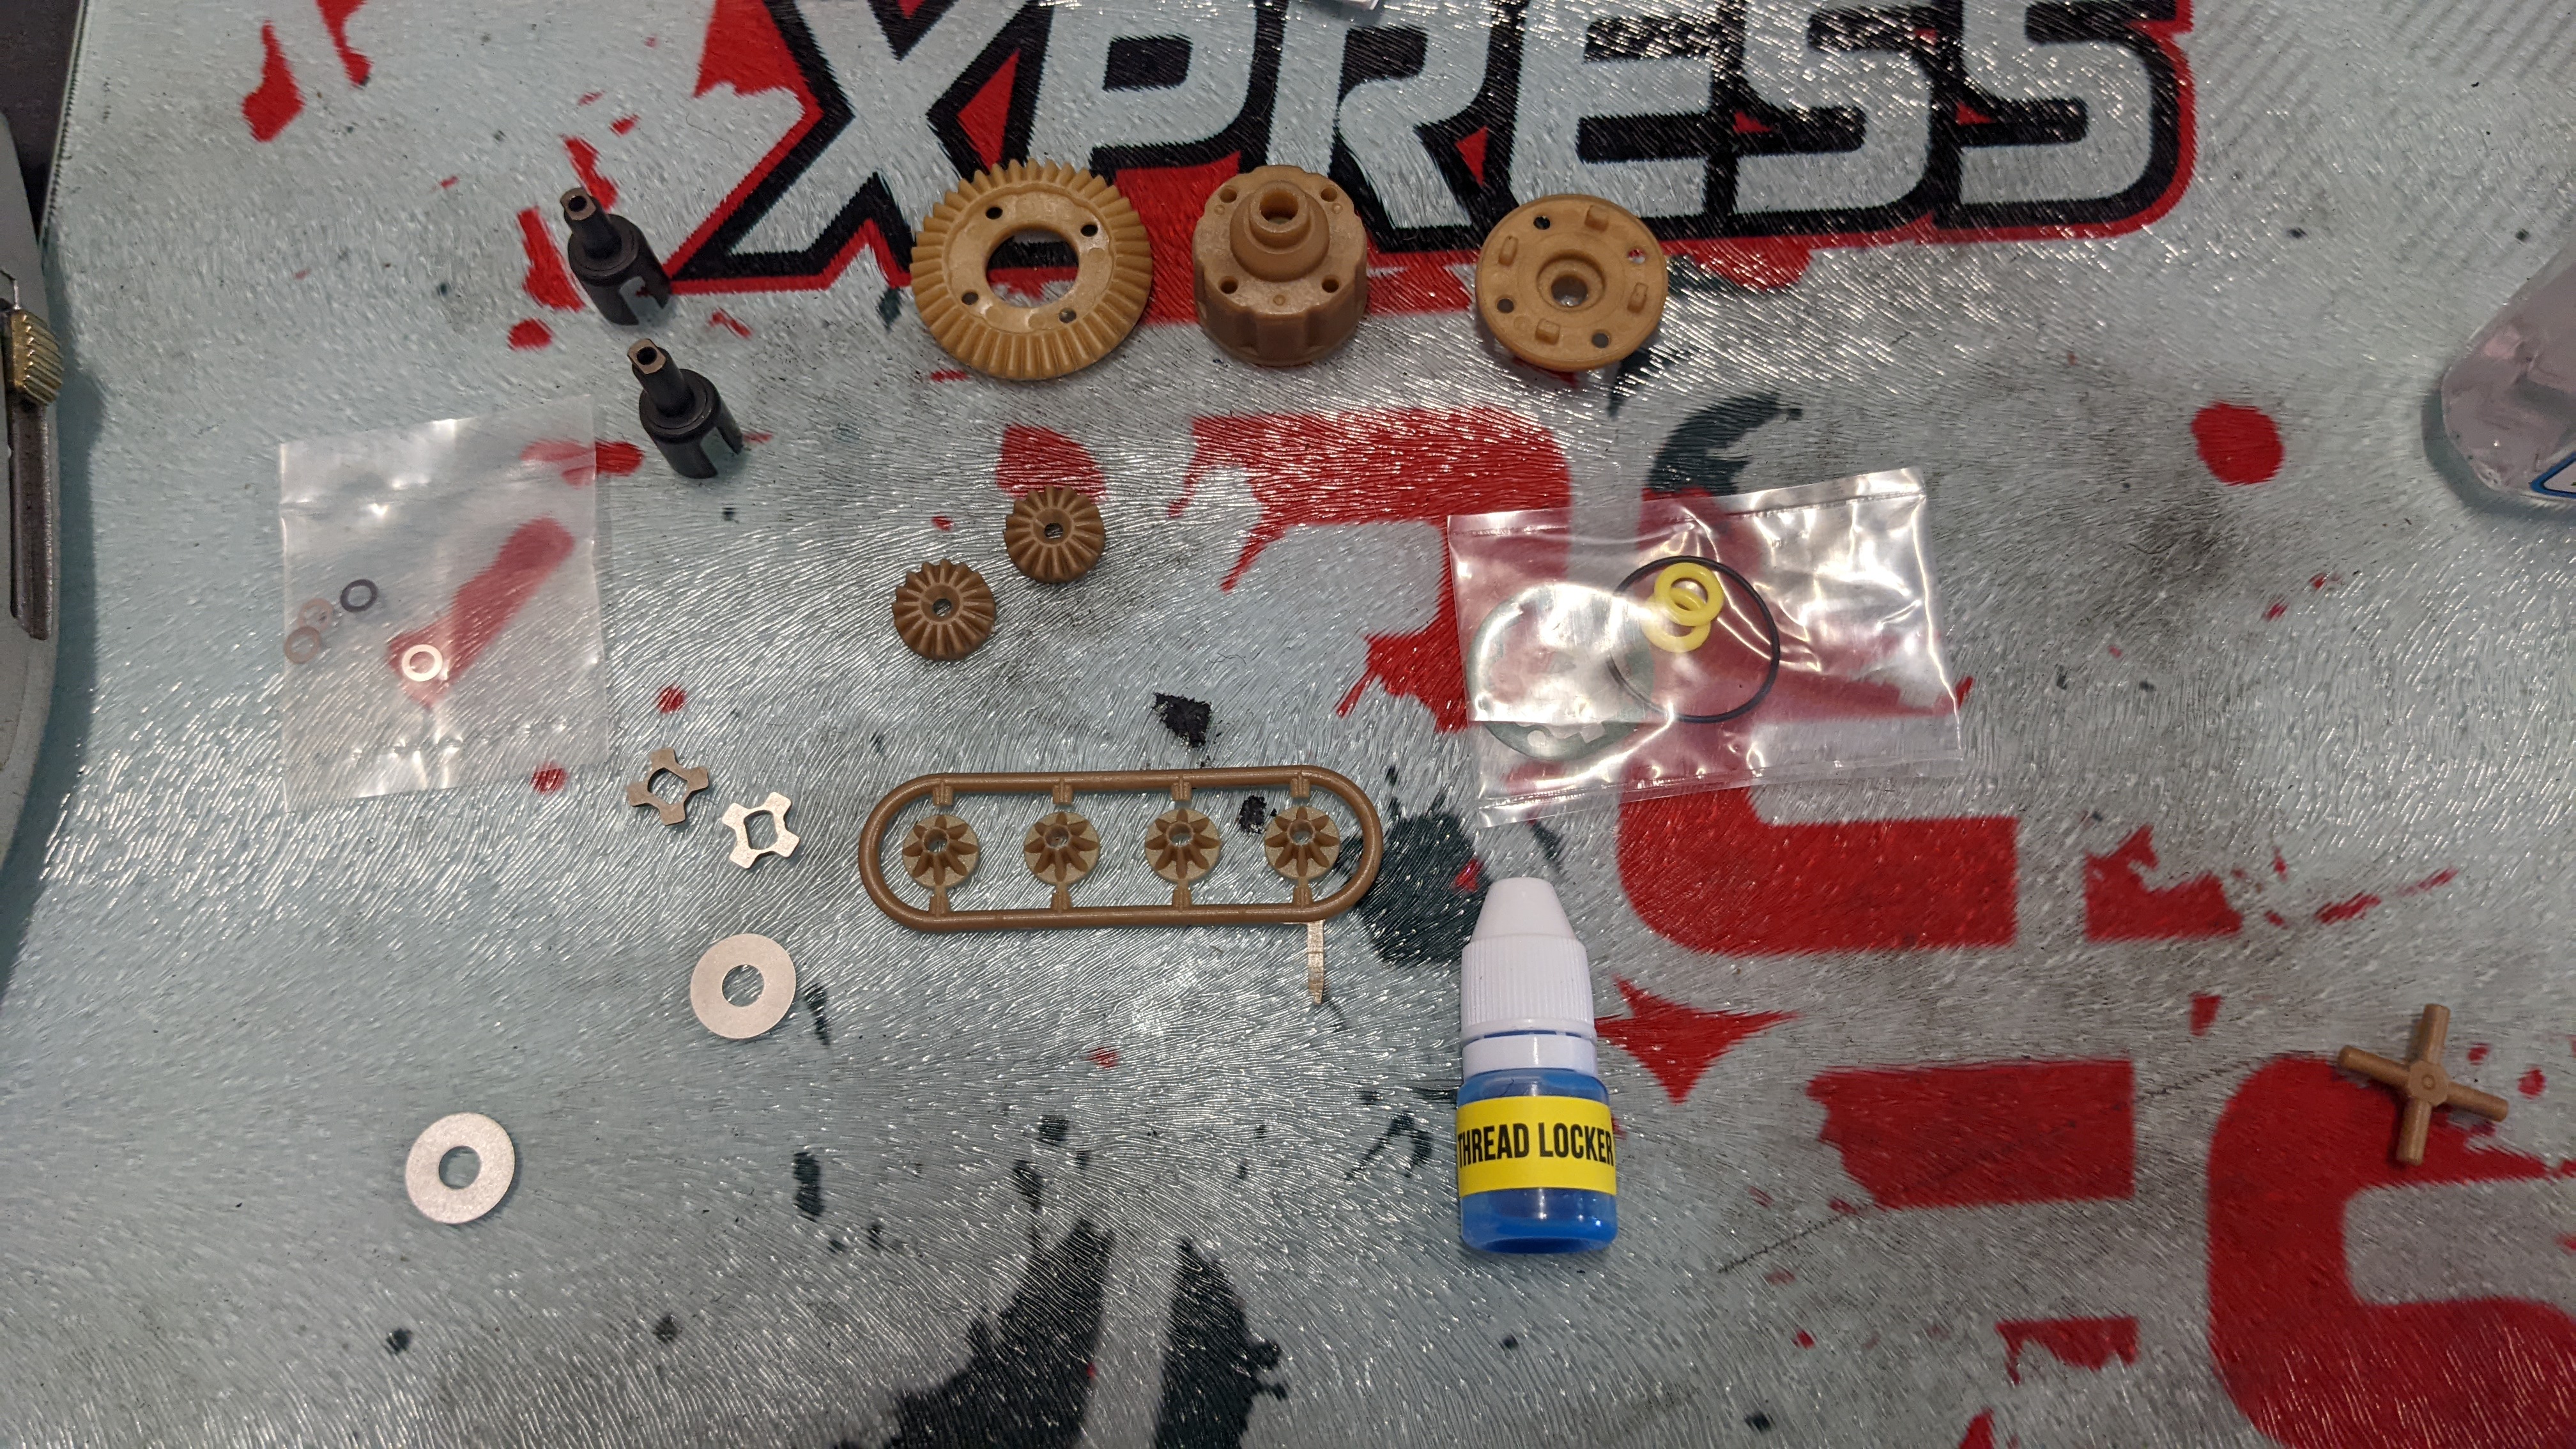
Onwards to the most important part of the build, the floating drivetrain! For this, there was an update provided to give some extra strength to the planetary gears inside the rear diff. Some small shims of metal, these were a tight fit, but after popping them in the freezer for 10 mins, they dropped in a lot easier.
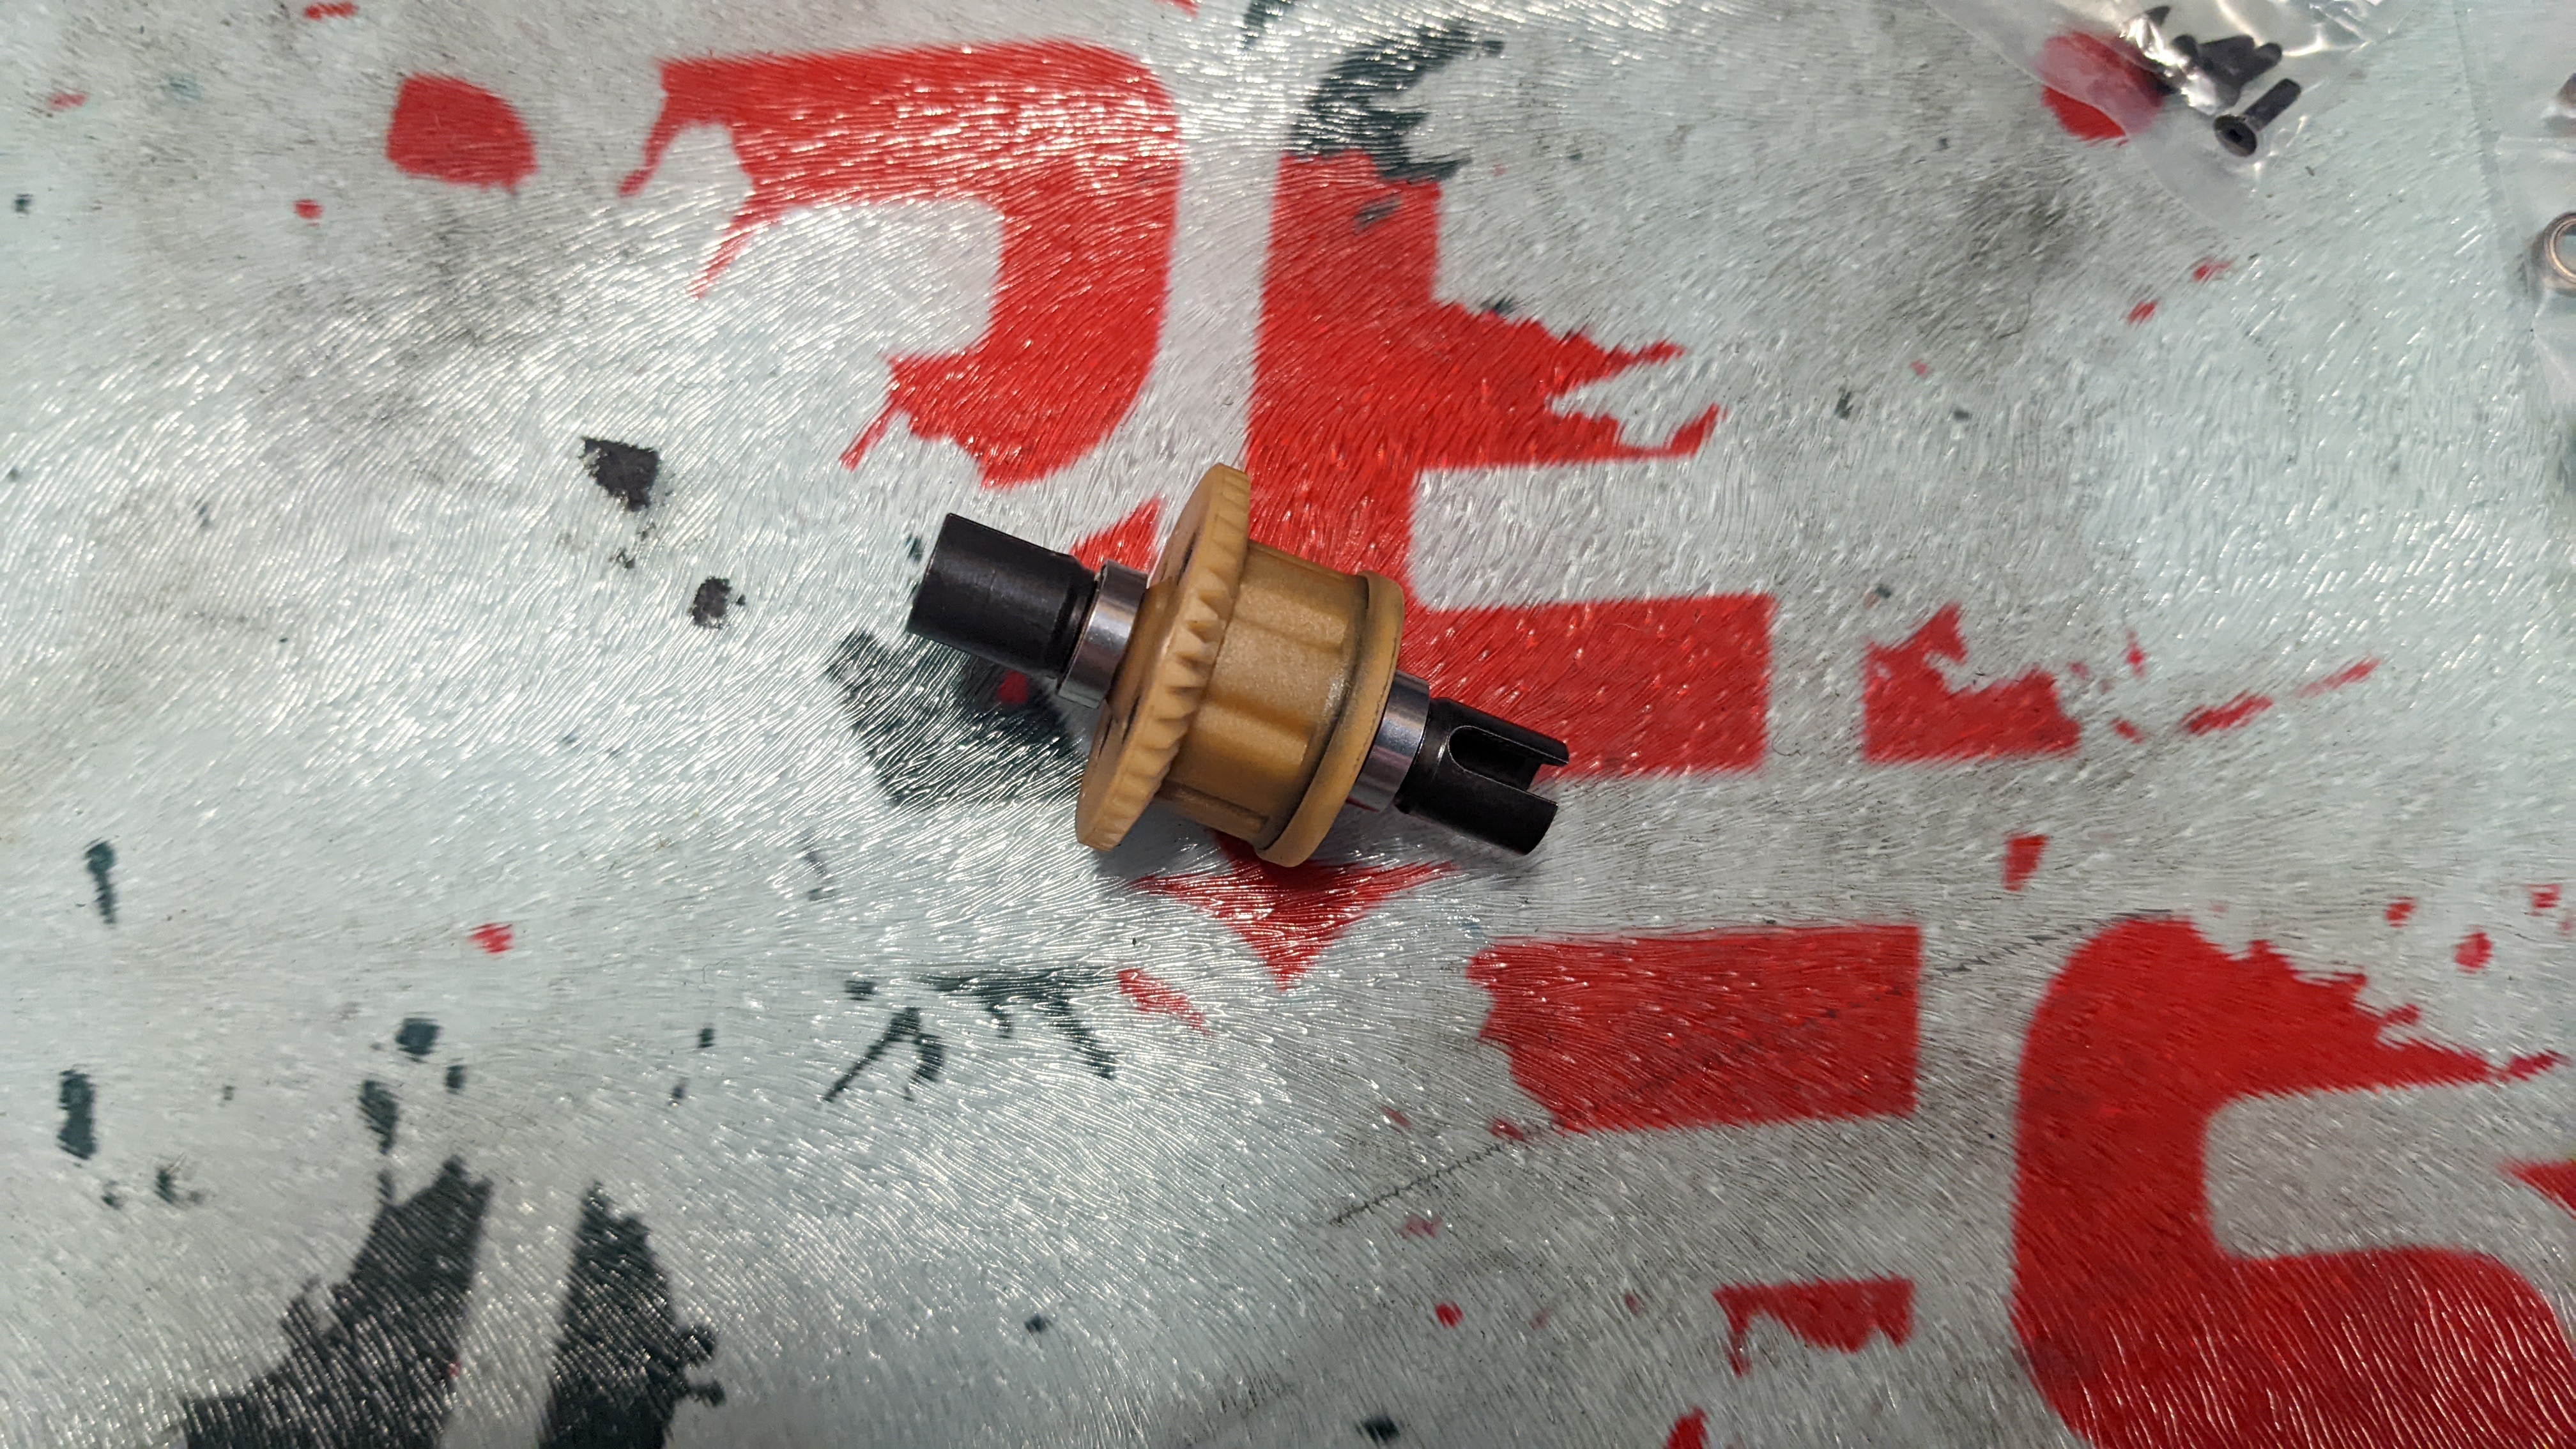
The self-lubricating material used for the diffs is a “unique” colour that can only be described as beige. Don’t worry, the gearbox housing is now black so you don’t have to look at them and immediately think of the 1980’s.
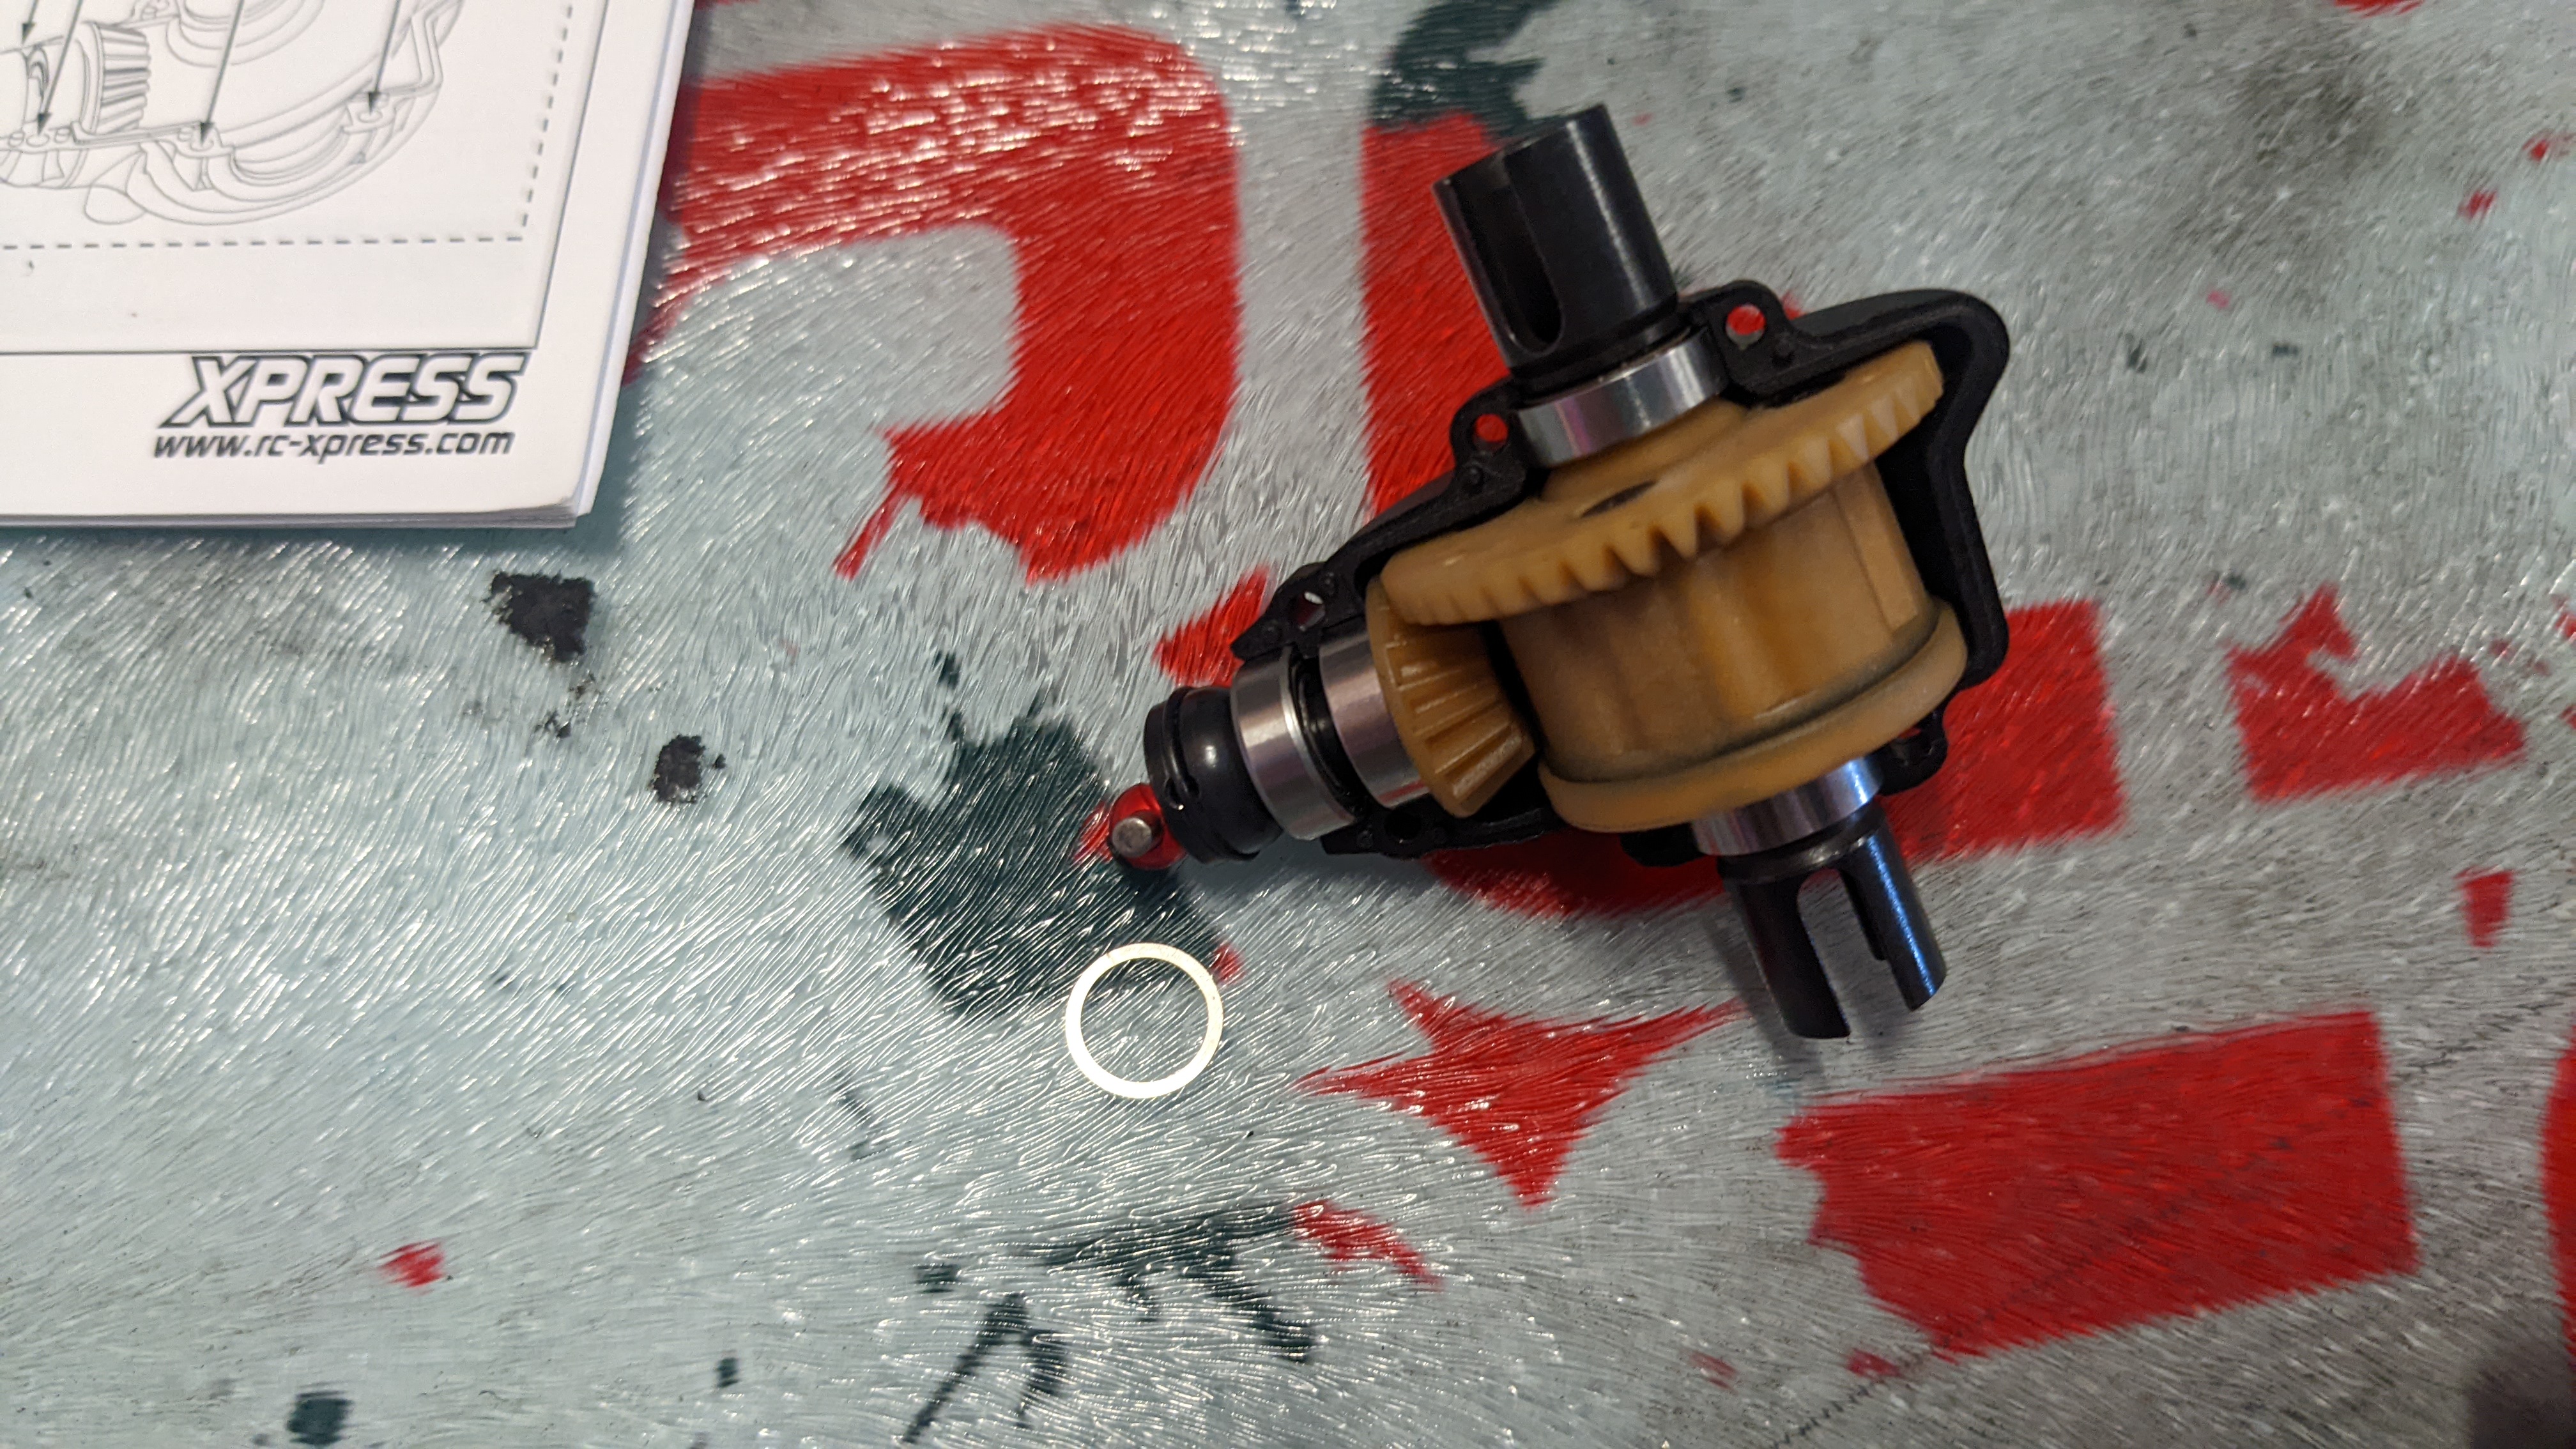
The important mantra for doing your drivetrain is shim, shim, shim. Make the drivetrain as smooth as possible at this stage and it’s going to pay dividends down the line. Xpress included 0.1 and 0.2mm shims for achieving this. I had to detract slightly from the manual for mine, and speaking to a couple of other AT1 owners, they’ve had to mix and match to get the perfect drivetrain feeling. You don’t want it too tight, but you also don’t want it too loose!
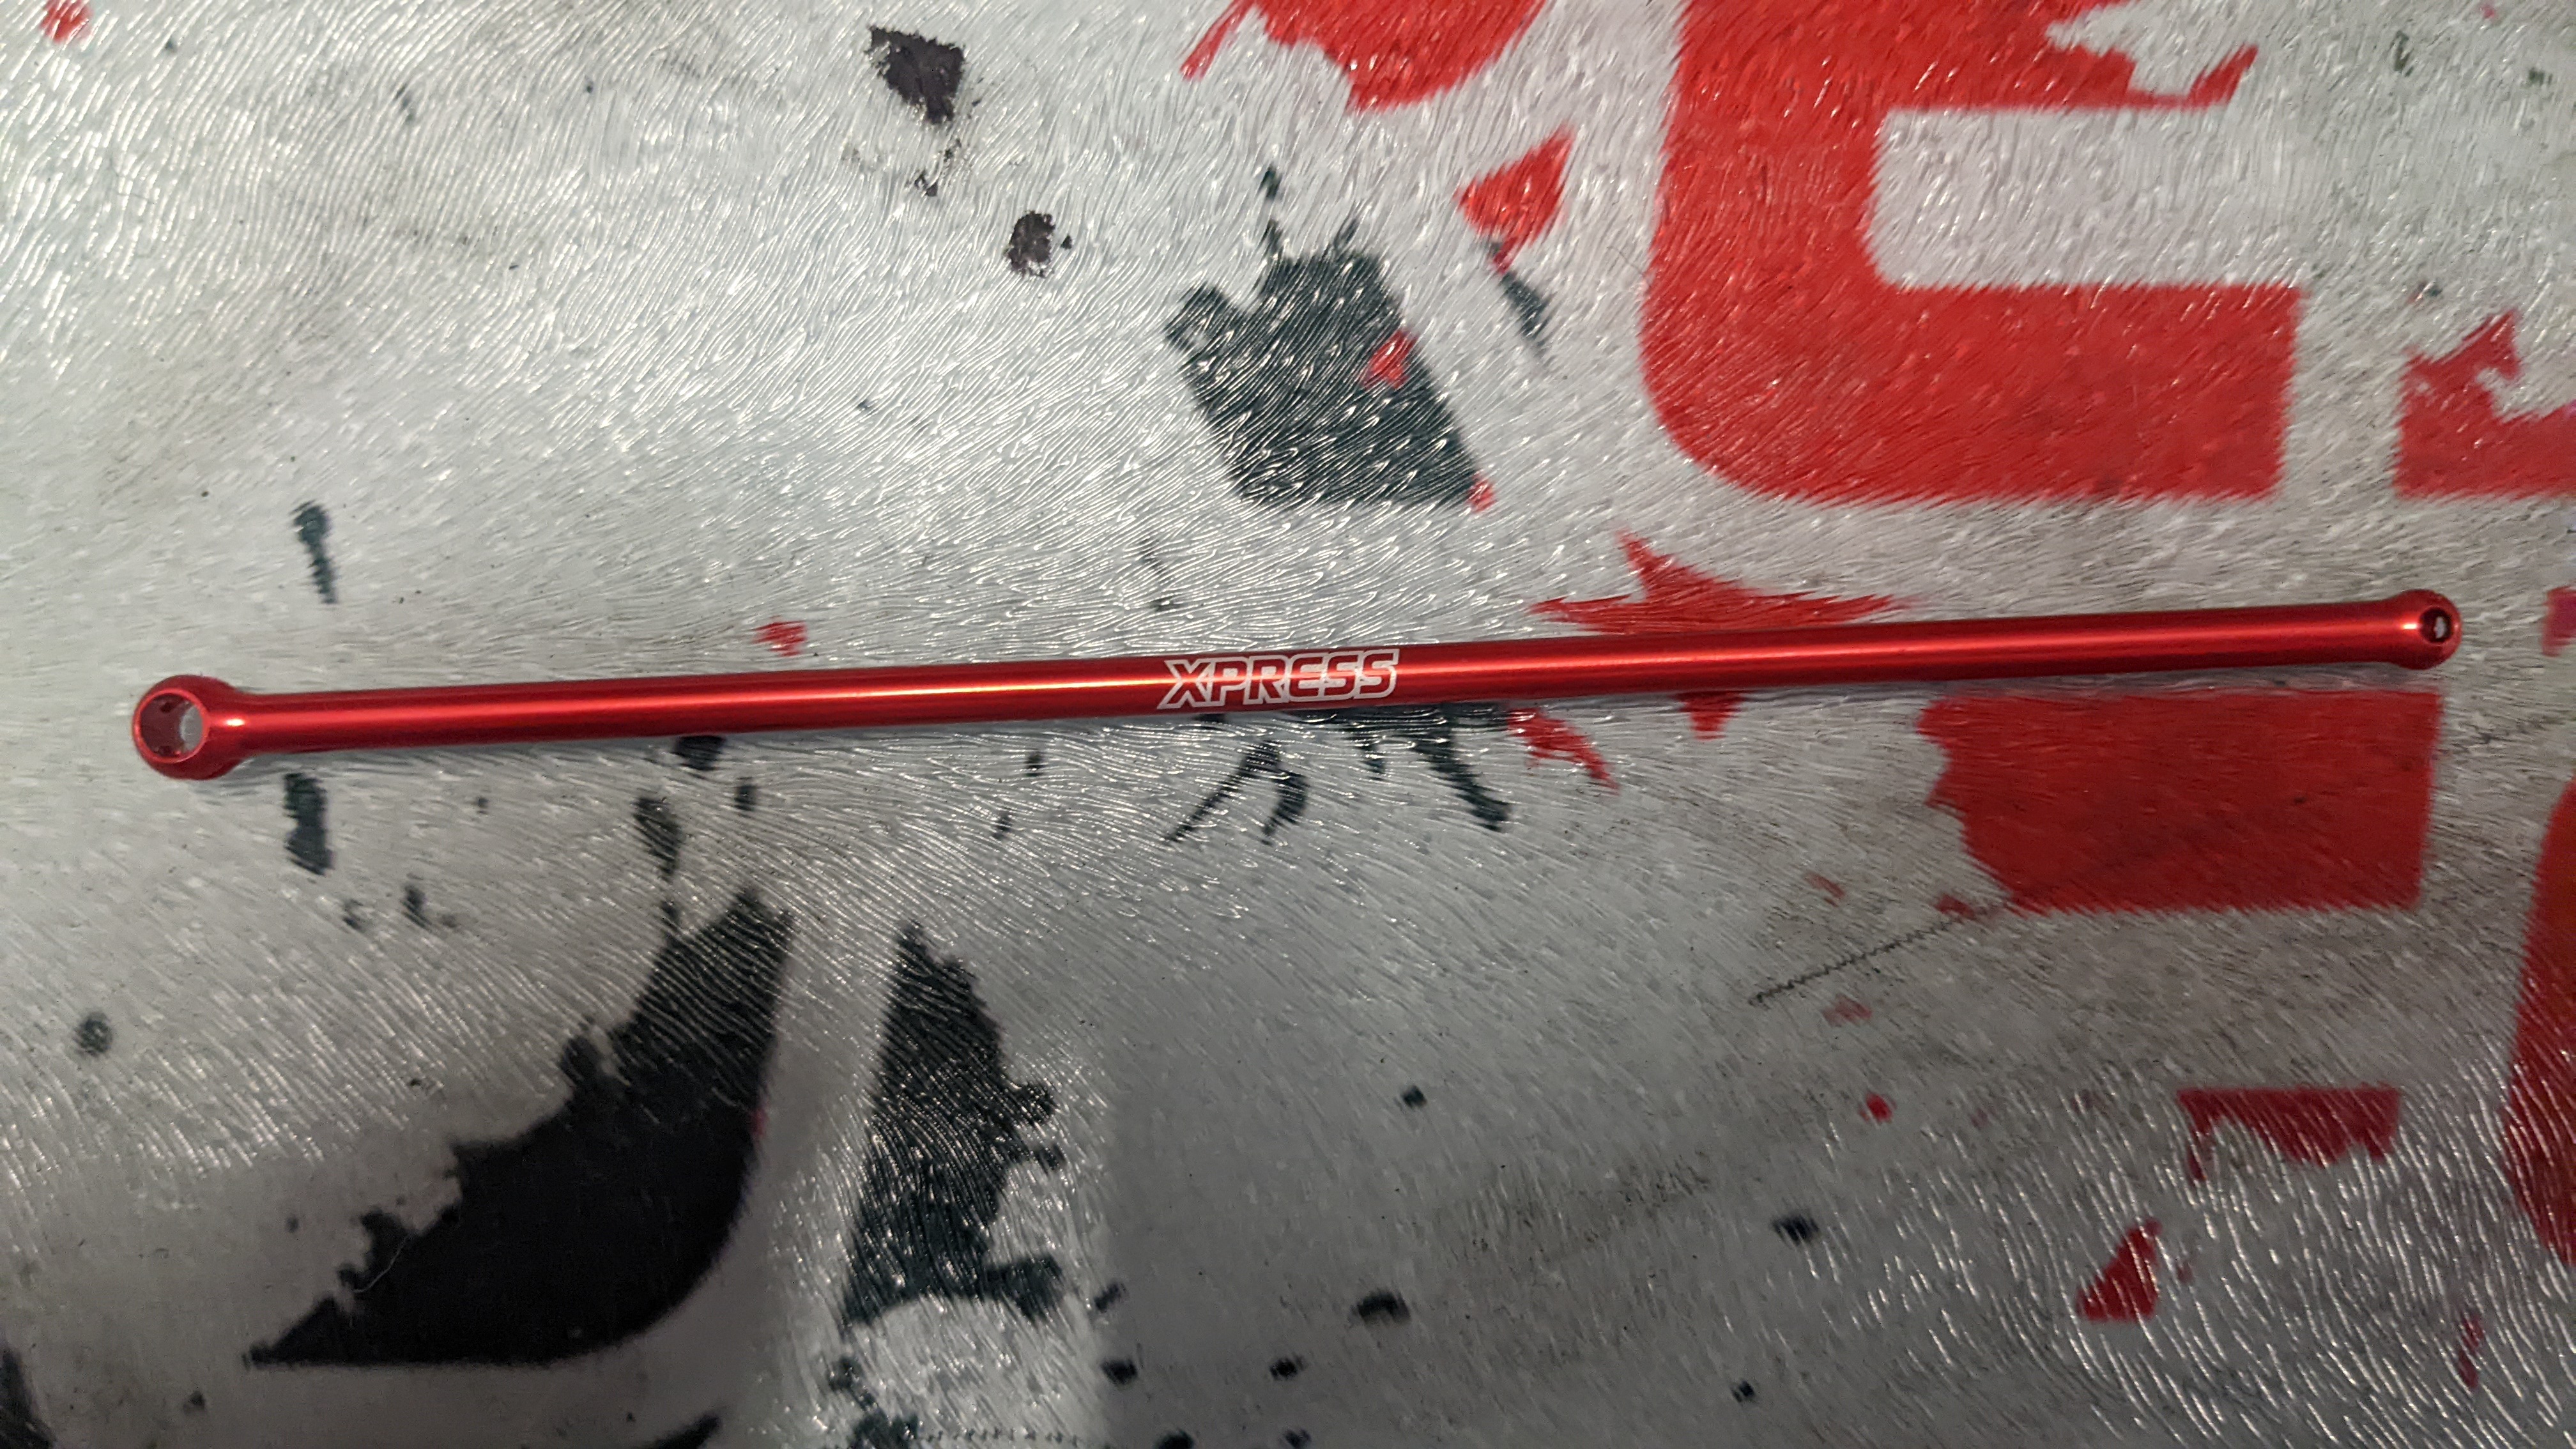
In all, it took me around 40 minutes of faffing to get it just where I wanted it. Some of you may get it for the first time, some maybe longer. It's just one of those perks of a mass produced item that there is always a little leeway in the tolerances.
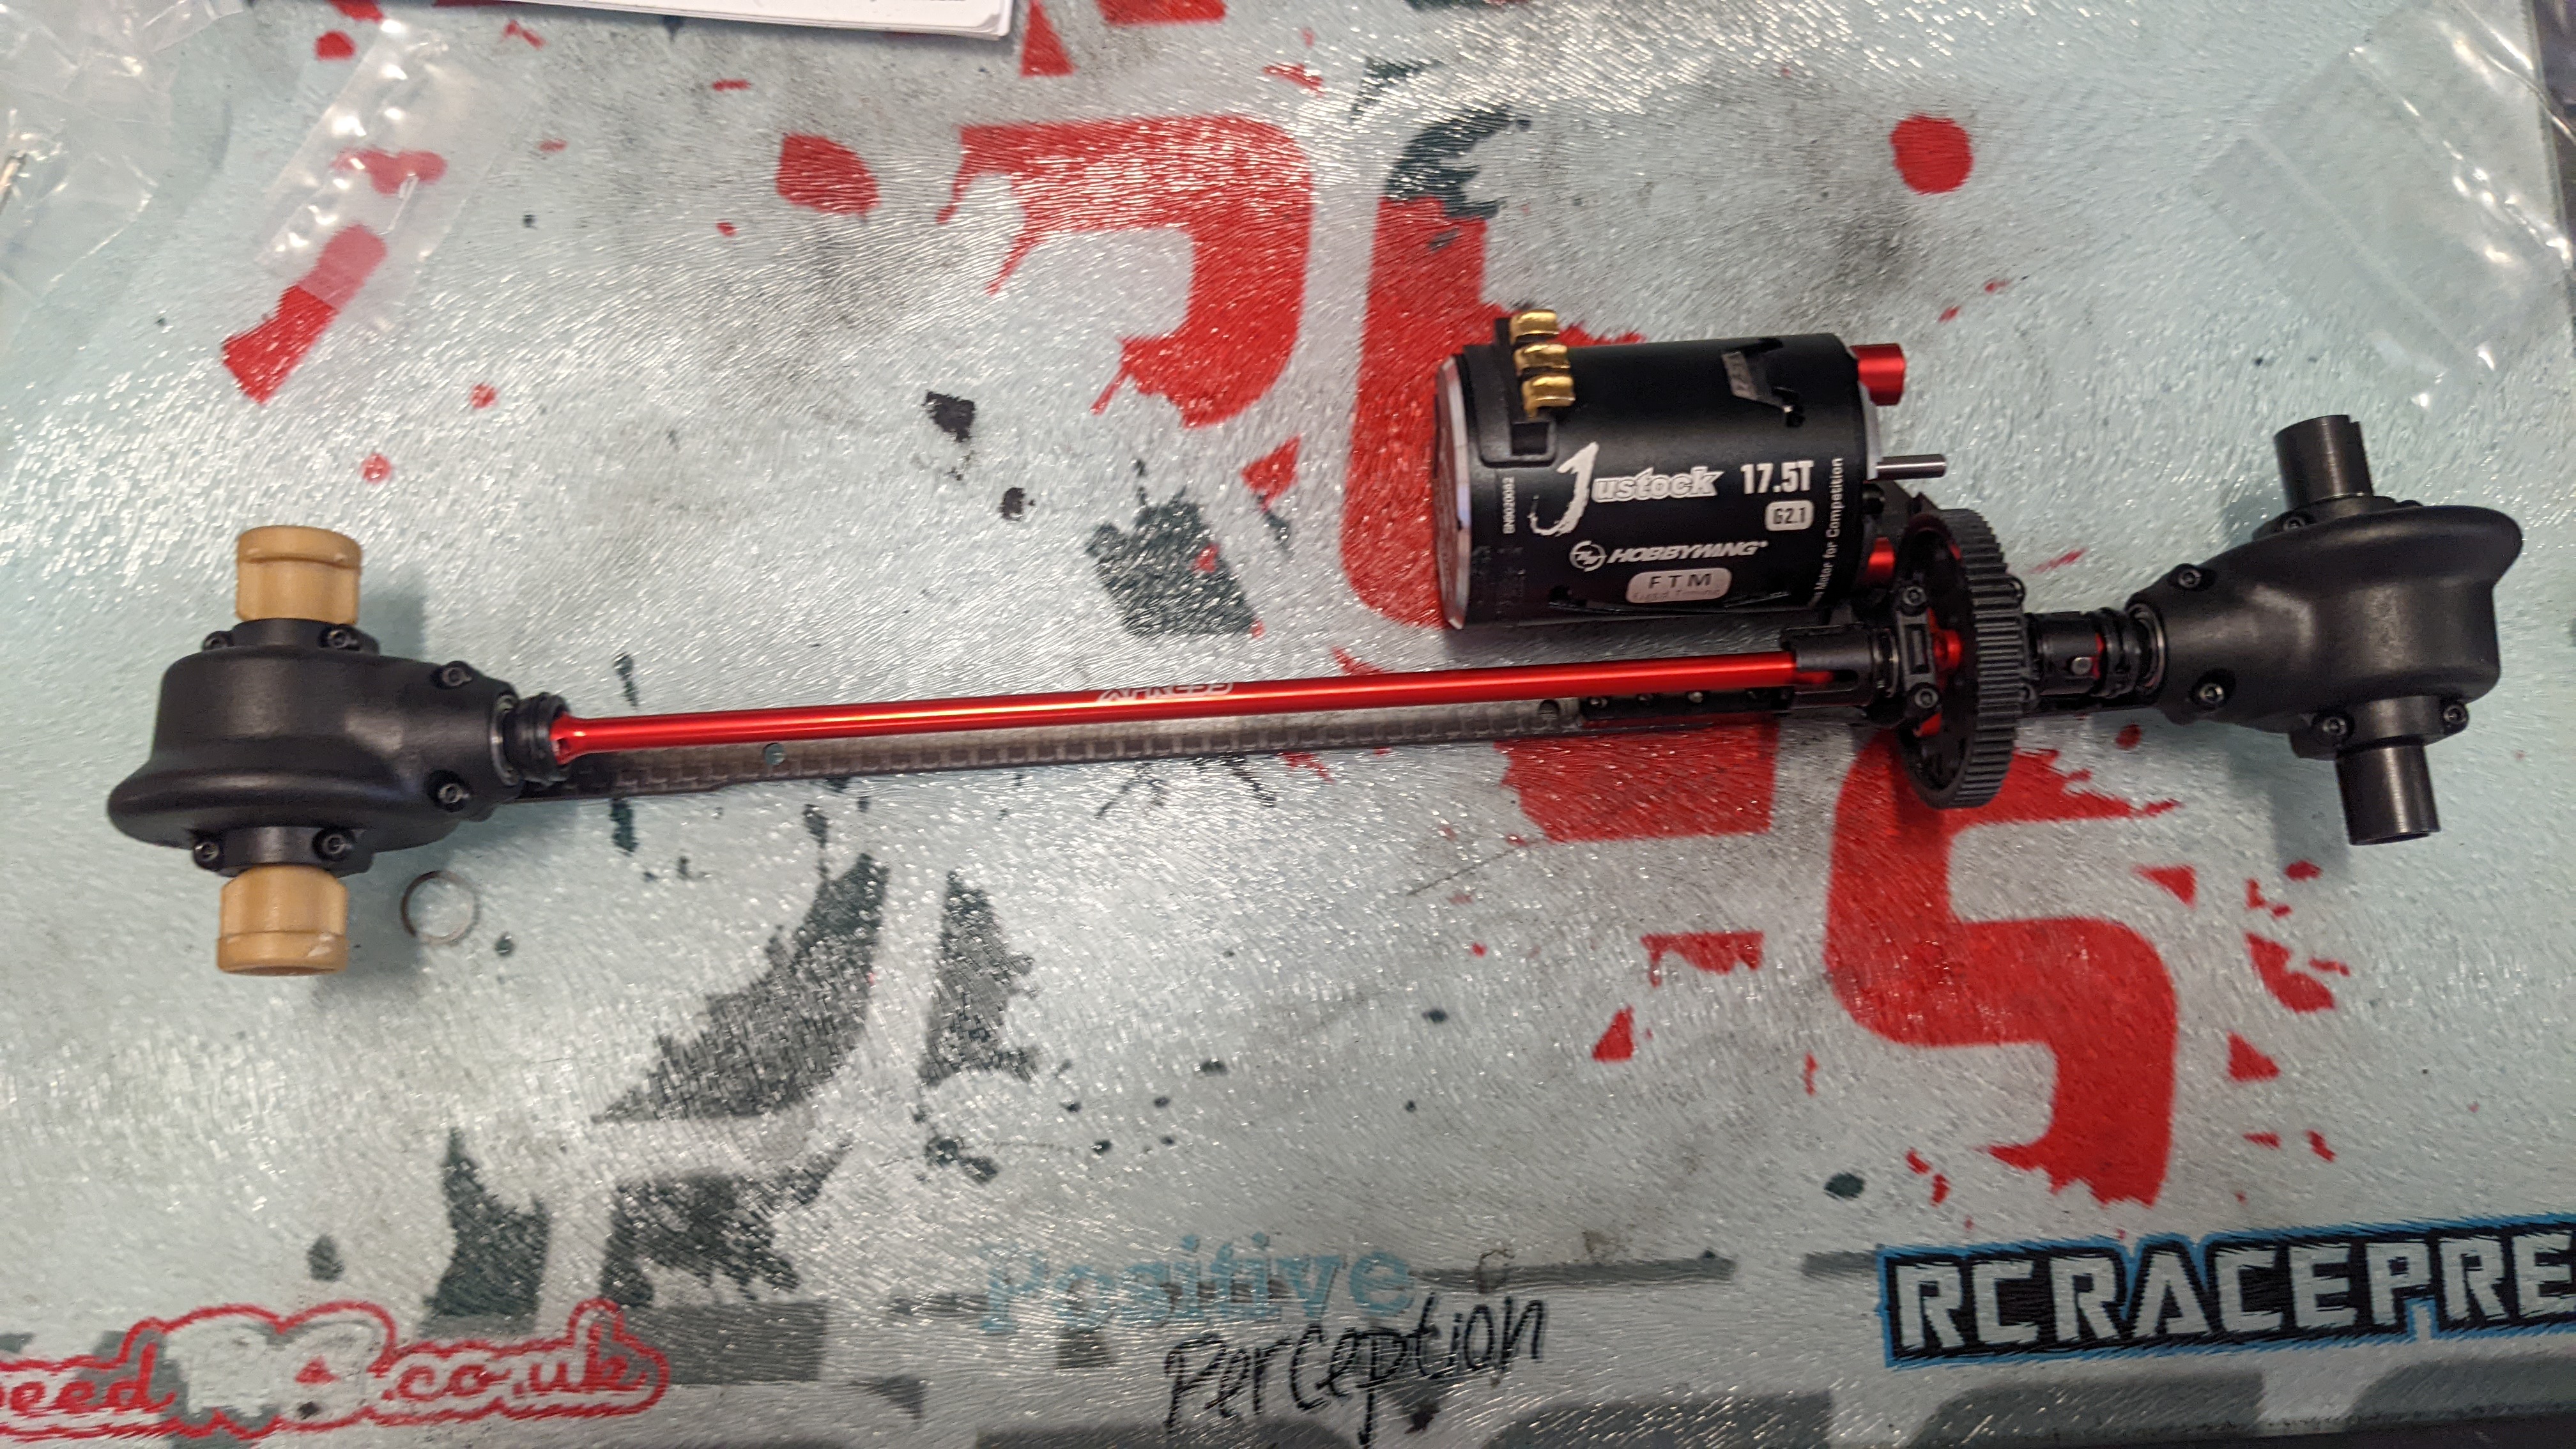
Once complete, the whole system just sits there, begging to be used! Please ignore the Hobbywing Justock in the image, there's a chance I had forgotten to bring my main 17.5t motor for the build, so this had a cameo role for a short time.
The rest of the build was your usual, run of the mill, Xpress or other manufacturer build! I did choose to skip ahead in the manual and get the shocks done before working on the chassis parts as this way it gave plenty of time for the air bubbles to rise up and get their pesky O2 out of the RCRaceprep oil that I’d chosen to use. Slight deviation from the manual at that point as I went with 400wt oil as opposed to the 450wt that was in the kit. My reasons for that are the stiff pink springs that are included. Typically, I prefer a light damp action when using stiffer springs, and vise versa when using softer, progressive springs.
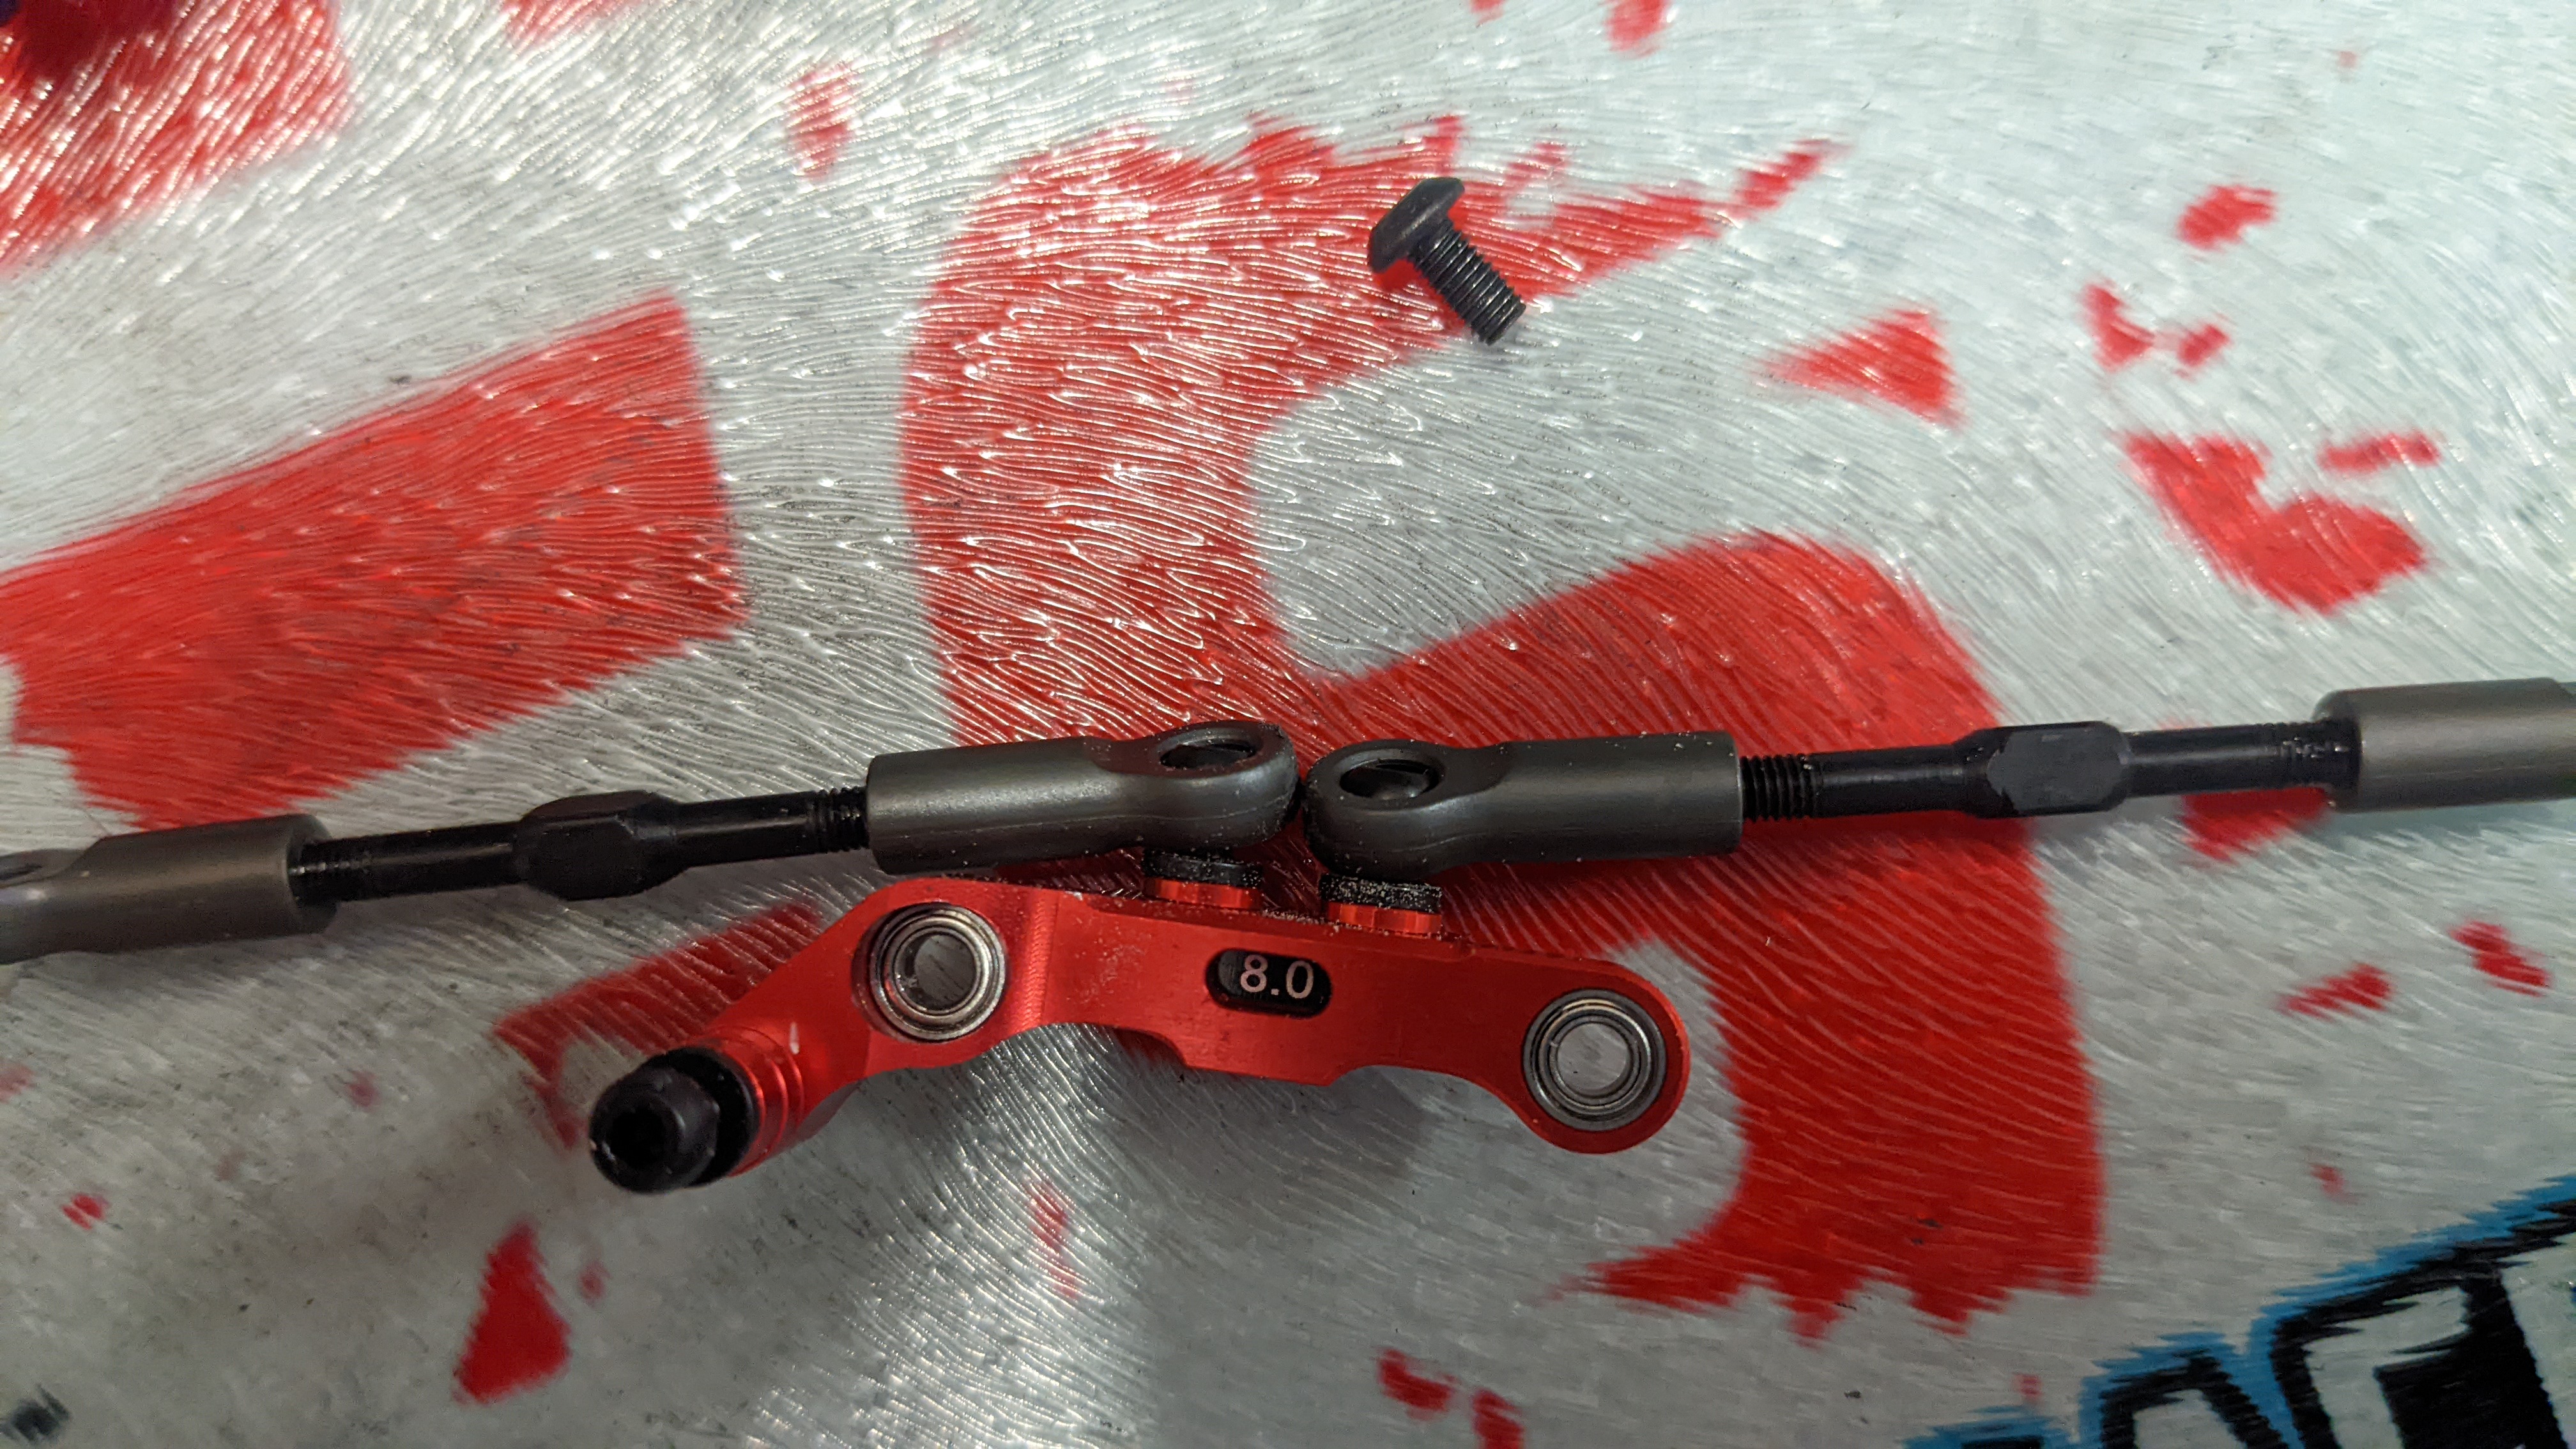
Couple of cool little features to pick up on as I made my hurried way through the main bulk of the chassis build. The inclusion of the adjustable akermann plate from the upgrades bin for the XQ10, but neatly revamped for the steering arm in the AT1. The actual steering arm turnbuckle is huge and obviously with a shaft in the middle, you can’t run the usual setup of the turnbuckle meeting the middle of the steering plate. So, it’s just off centre, but also fully adjustable and you can raise or lower the ball cup to suit your preference.

The carbon camber link plates are also a fantastic addition and certainly lower (a smidge) the CoG of this car. Changing shims for roll centres may prove to be less easy as per the previous generation of Xpress cars, due to the pivot ball screwing into a countersunk screw (which is underneath). So it could be a whole camber plate off job or you’ll end up with some loose camber. Great if you like some free floating camber gain… but bad if you want things to be consistent throughout a run. You can also see the carbon shims used to bring the top deck up. I haven’t checked if you can drop these off and run the top deck flat on the bulkhead housing, but I will at some point!
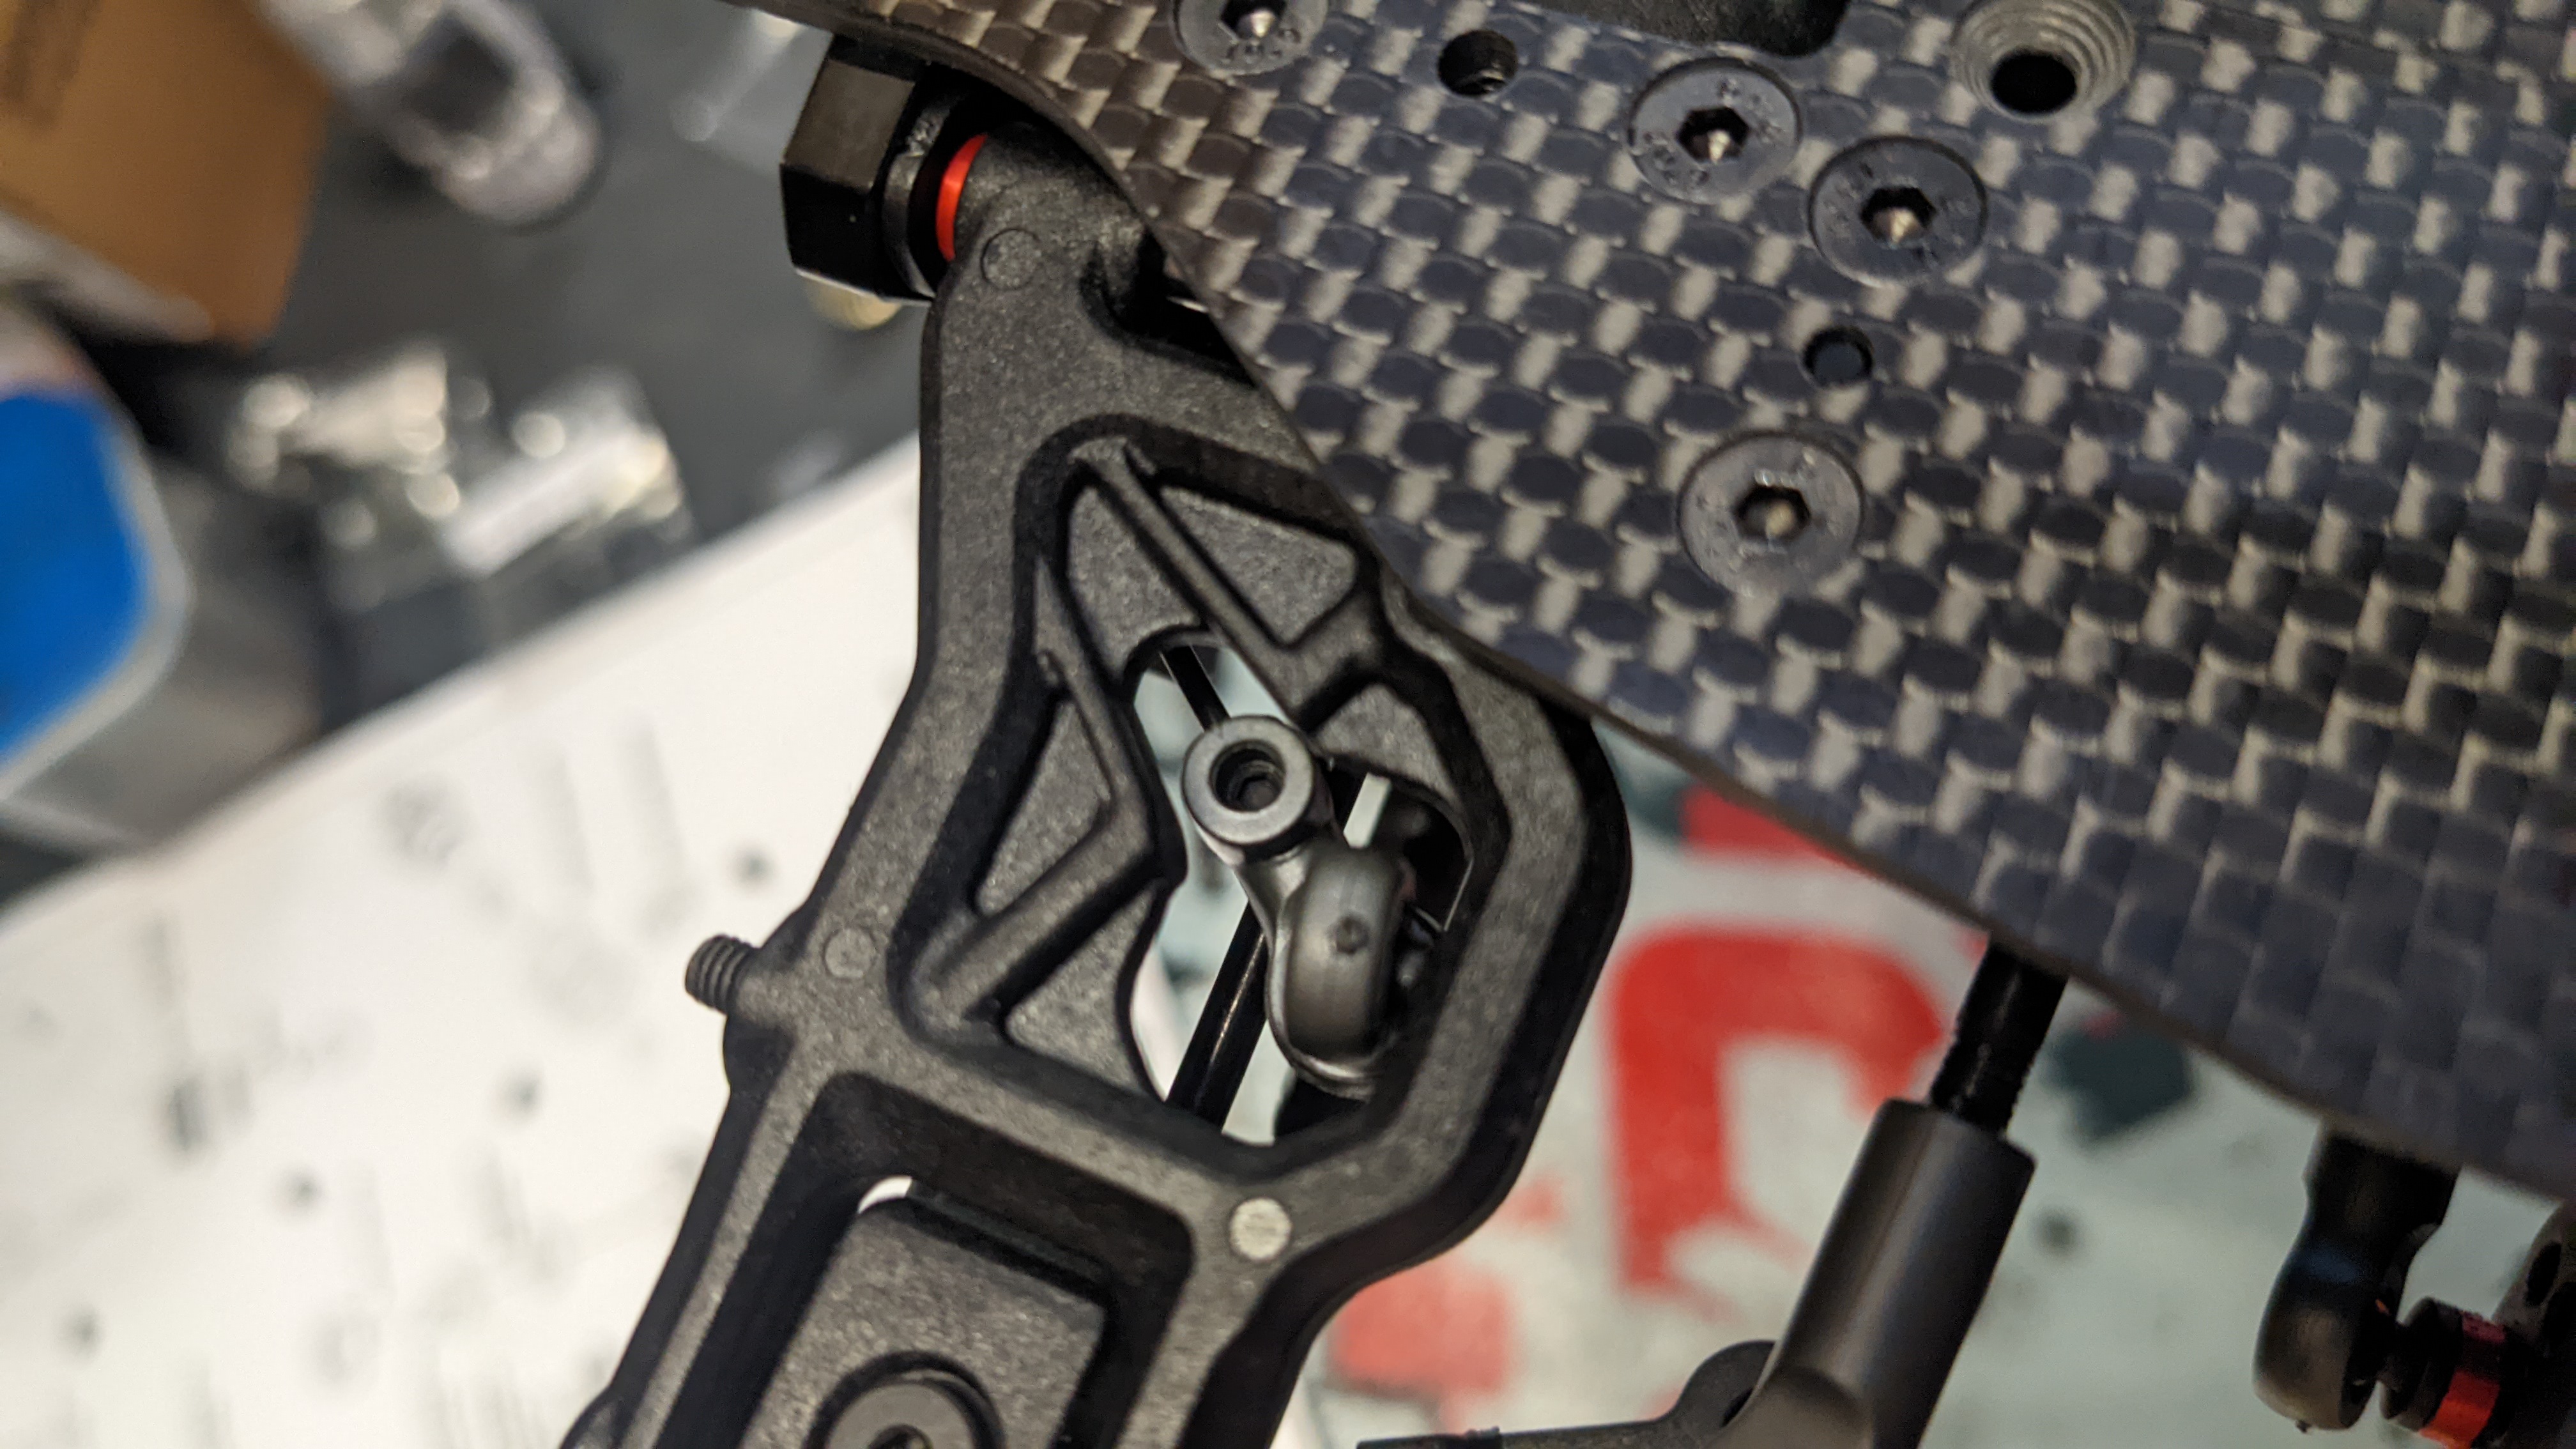
I'm probably alone in thinking that this is one of the best little tweaks for the Xpress AT1, but the geek in me loves the little cutaway in the suspension arm to run the anti roll bars in an easy fashion! Room enough for some needle nose plier ends to fully locate the ball end onto the lower suspension arm. Ok, geek mode over.
The rest of the build really isn’t anything much to write home about. It's a smooth process that will obviously take time. But it's worth noting that not once, did I have to get out a dremel, a file or a reamer to make anything fit. Truly the Xpress team have nailed it when it comes to having an easy to build but robust chassis.

Completed, rolling chassis. No electrics fitted as I still needed to get that pesky Surpass motor installed. Overall time, 5 hours! Stopping only a handful of times to fill my mug with tea and answer the work phone.
The Driving
So, after a rushed job with throwing a load of electrics into the AT1 (whilst at the RC Club I’m the Chair of), it was time to hit the track! In terms of setup, all I had done was set my camber to 2* degrees all round, checked I had the same steering left and right and went with 0.5* toe in at the front (something I prefer). Oh and obviously made sure I was set to 5.5mm ride height at the rear, with 5mm at the front. I barely had time to get any tyre additive onto the Volante tyres I’d chosen to run with, when it was time to hit the track and give it the beans!
I’d gone with a fairly conservative gearing on the tight and twisty Forest of Dean track, mainly to just bed everything in and not give it all the power straight away. First impression off the line? Well, that doesn’t sound like a normal shaft car! If you’ve heard a shaft car of the likes of Carten or even the older HPI PRO4 , you’ll know that they actually make a decent bit of noise. This, it was as quiet as a belt drive. I genuinely think if people didn’t know I’d had the kit and had been getting it ready, they would’ve thought I was using the XQ10!
The first run completed, with a couple of stops just to trim the steering up and forget to react to just how easily the AT1 rotated and I was back to the setup table to double check it all over. Couple of tiny loose screws were expected and I was pleased that I had only found one on the camber link that had worked loose. Quick tighten down and a double check of camber and then it was time to get prepped for round 2.
This one didn't go to plan. The car stopped accelerating as quick as expected.
At first, I thought maybe I had forgotten to charge my lipo, but it was clear that something was up with the AT1 so I pulled off and headed to the pits. Quick inspecting, and I couldn’t find a single thing wrong! Driveshafts were tight, the diff was fine, spool was fine… bizarre! Oh well, at least it gave me a chance to deal with the millions of messages the UK team had been sending whilst I was prepping.
Round 3, same again! This time, I was able to find the problem. One of the screws holding the rear right outdrive had come loose. Despite a bit of threadlock, it was causing the diff to only turn one wheel. Quickly got the diff out and a slightly longer screw went in place with more threadlock (I’d subsequently remove this screw the next day and re-tap it just to be sure it hadn’t damaged a thread).
Time to prepare for the finals! Changed the gearing by going up 2 teeth on the pinion and found the motor mount sliding action for meshing was superb. Also a neat feature is the screws holding the motor, which cannot fall out through the chassis! The slots are big enough for a 2mm allen driver, but not enough for the screws. It's the little tweaks that make a difference. As well as gearing up, I went for 6K diff oil to calm the rotation down a bit and went for more additive on the rear compared to the front. Back out, and it was clear the changes I’d made had been helpful. The car was absolutely planted out of a slow corner, with just the smallest of wiggles of the backend as the power was applied. I didn't win the final against the Schumacher Mi6 of Mark Bruton-Young, but that was mainly because I wasn’t pushing as hard as usual. The car was mega under rotation and really went exactly where I pointed it, but I didn’t want to wipe out on a barrier and then have the awkward “I broke it already..” conversation with Steve of SpeedRC.
First Thoughts then
On the carpet as I tested the car, it was seriously good. It wants to just GO. The pickup under acceleration is something that I never experienced with the XQ10. It certainly is able to rotate for a slower corner that little bit easier and feels incredibly tight performance wise. Noise was also a big shocker, with everyone surprised it was a shaftie (™?).
However, with the issues I suffered in the qualifying rounds. I'm not done yet with this review. I’ll be taking it back to the Forest of Dean next Tuesday evening, and running a proper back to back test against my XQ10. Same electrics, same bodyshell, same tyres. Lets really see what the potential is. I've taken the AT1 back to my work bench and made some tweaks ahead of next time. Setting droop up to my usual settings. Redoing the shocks with the same weight oil as the XQ10 (450wt) and getting the roll centres as close as possible as well.
Changes I've made from the test on Tuesday (26/07/22) are as follows. Going to drop down from a 1.3mm to a 1.2mm rear anti roll bar, to really lock the back end in through the faster corners. Reset the droop to 5.2F and 4.4R. Take off 1mm of bump-stop because our club carpet is super smooth, so should keep the steering more neutral. Raised the front shock up by 0.5mm to give it a bit more bite under initial turn-in. Lets see how the changes go! We shall then see, just which I prefer and if anyone can tell which car I’m using in which round!
Second thoughts
So, week two with the Arrow AT1, and time to fire up both that and the XQ10 to see what the performance is like on track as a proper back to back test.
First Q was with the AT1 and the changes I'd made last week absolutely dialed it in. There was still some power on oversteer coming out of tight corners and I had the gearing a touch too low as the motor was getting beyond the 60°c point. Not a TQ round, as I'm still finding my feet with the car and knowing where I can push it. However, this was a PB round already. By 7s! Not a bad start!
The second Q run was with the XQ10, no changes to this setup from the last time I'd run it round the Forest Raceway and it was on the money straight away. What I had forgotten to do, was check the pinion, and this showed at the 1min mark as I clipped a barrier and heard that annoying "weeeeeeeee" noise of a pinion not binding to the spur gear. Quick trip to the pit bench and back out to get the last minute in, and the times to take from the XQ10 was going to be fastest lap pace. Not far off the AT1, but actually slower by 0.1s.
Third and final Q and this would be with the AT1. I'd dropped the punch down a smidge on the ESC to try and tame the back end of the car out of the slower corners and dropped the pinion down by 2 teeth to bring a higher FDR and hopefully lower that motor temperature! Another 5 mins later, and I was a whole lap up on my previous PB with the XQ10. Now, this could have just been the evolution of the carpet and me getting comfortable with the car, but it's definitely showing the potential of the chassis.
Finals time, and I guess I'd better give the XQ10 another chance to shine! Finals for us are usually 1 lap slower than Q, so it was never going to trouble the 40 laps I'd managed with the AT1, but… 39 laps in 302s. With a faster lap and faster best 10 as well. Interesting!
Final thoughts (for now)
The AT1 is definitely different. Definitely a looker. Definitely a new idea for shaft drive touring car. I need some more time with it, to double check some suspicions I have. Mainly about carpet evolution at the club. Grip was coming up throughout the night, so to conclude a proper back to back test, I need to go again and reverse the order I drive the cars.
I should also note, I haven't even scratched the surface with setup of the AT1 yet. The XQ10 setup I use has been dialed in over the two years of use that I've had from the chassis, so it's always a comfortable car to race on a club night with minimal effort needed to keep it handling.
Something I've also noticed is diff oils. I think with the smaller differential case of the AT1, higher rated oils are going to be the way forward. I was using 6K on the AT1 and 4K on the XQ10, and there wasn't a lot of difference in turning the rear tyres! Anyone who can explain the possible physics of this, please get in touch!
For now, we'll leave the review… but, I will update you all once I've run the two chassis back to back again, and even outdoors with a lower wind of motor.
The AT1, definitely a new beast to tame, and an awesome one at that.
Mark Raddenbury